Ducati 749/999 Tail Light
I finished this project a while ago, but never documented it. This is a taillight I made for my 749 before I sold it. I currently have a 999 so maybe I will make another one someday, but the 999 rarely changes out of it’s track/race clothes.
I was doing a lot of street riding when I made this, so I wanted something with better visibility than the (IMO) poor aftermarket replacement taillights. Specifically I was wanting to add a few high brightness pulses when the brake lights were turned on, but with a high enough frequency it would barely be noticeable. It catches your attention but isn’t really that obvious if you weren’t looking right at it. I’ve noticed recently that some fire trucks do this.
I’ve also been interested in a tail light with a light sensor so that the brightness can be ramped up during day time. Motorcycles need all the visibility they can get, but if the tail light gets too bright it will have the opposite effect at night and reduce visibility for people behind you.
While looking for an appropriate LED controller I ran across the PCA9952, which is a really nice piece that allows for up to 16 channels of LED strings at up to 40V each, with 8 bit PWM resolution selectable via I2C. I used this with an ATtiny45 that I had in my parts bin to run twelve total LED strings, 8 for brake and 4 for signals. This allowed me to use 5 LEDs per string so I didn’t need a boost converter to drive the LED strings.
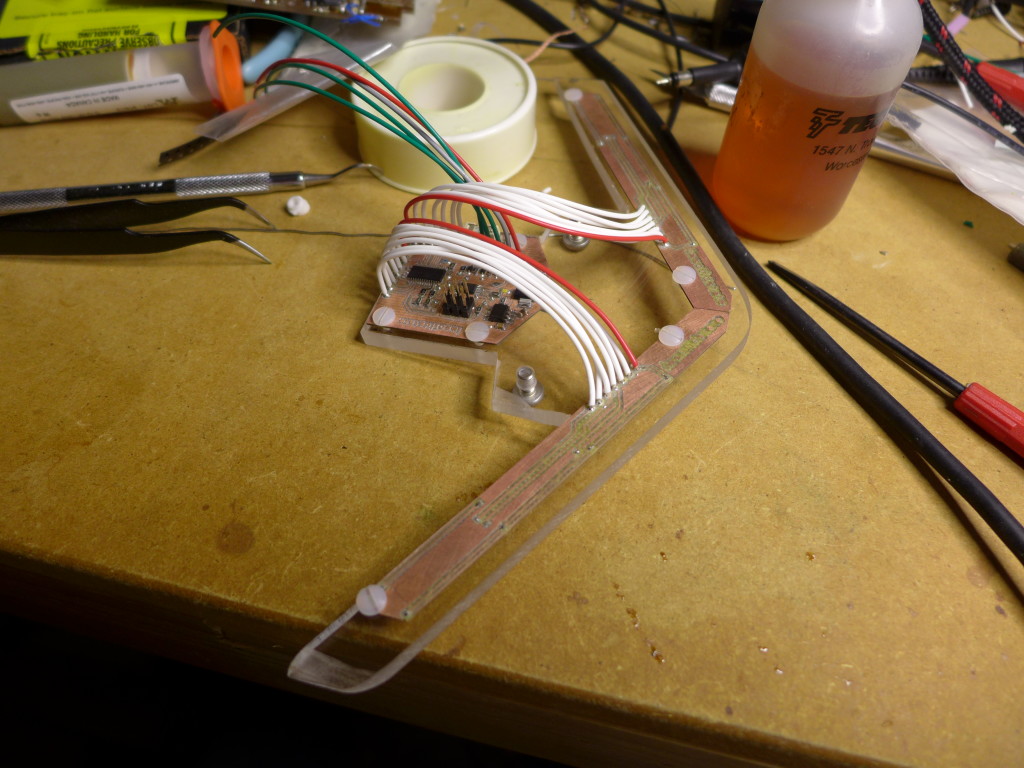
Because I wanted a very low profile tailight that could fit in between the tail fairing and the exhaust I went with SMD side emitter LEDs this time. The acrylic is machined to allow the PCB to sit flat and the LEDs are countersunk into the face of the acrylic which couples the LEDs into the guide.
I had a new and improved version started based on a few issues I ran in to with the first one, but decided I wanted to sell the bike and get a race bike instead so the version 2 was shelved.
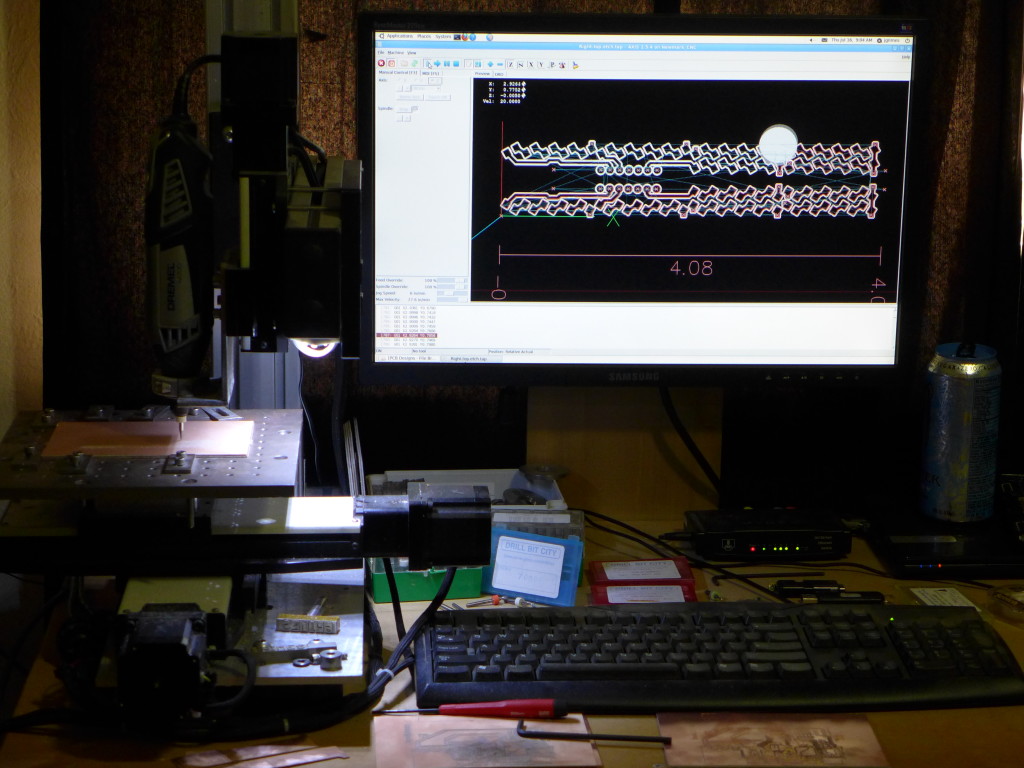
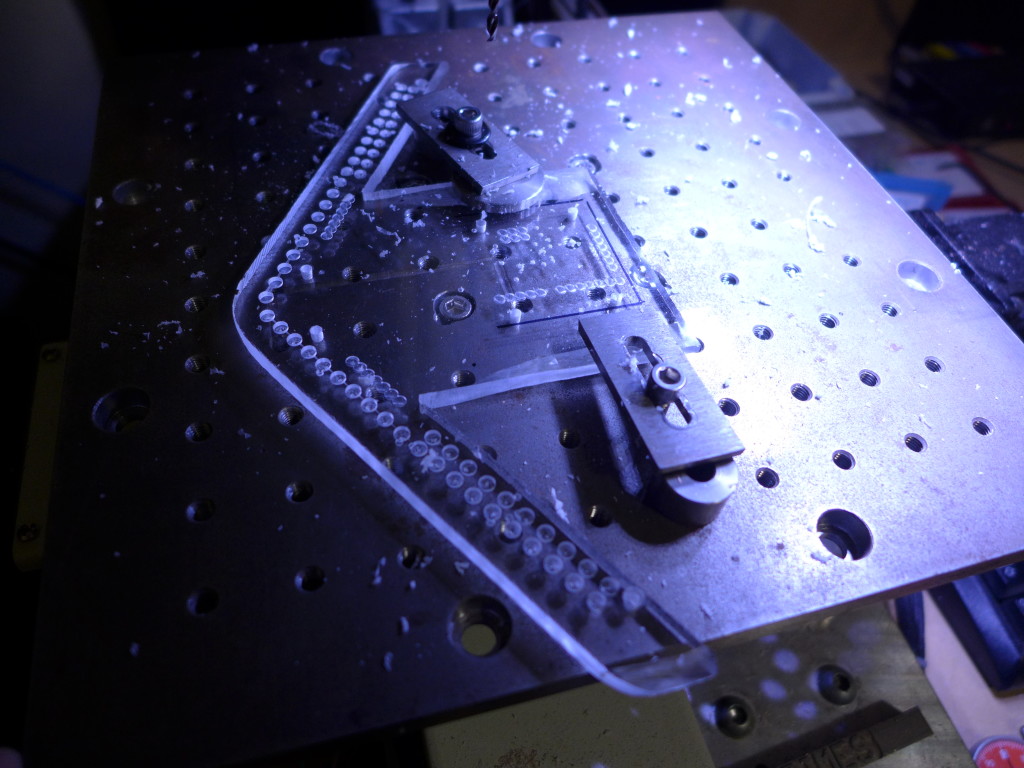
Machining the PCBs
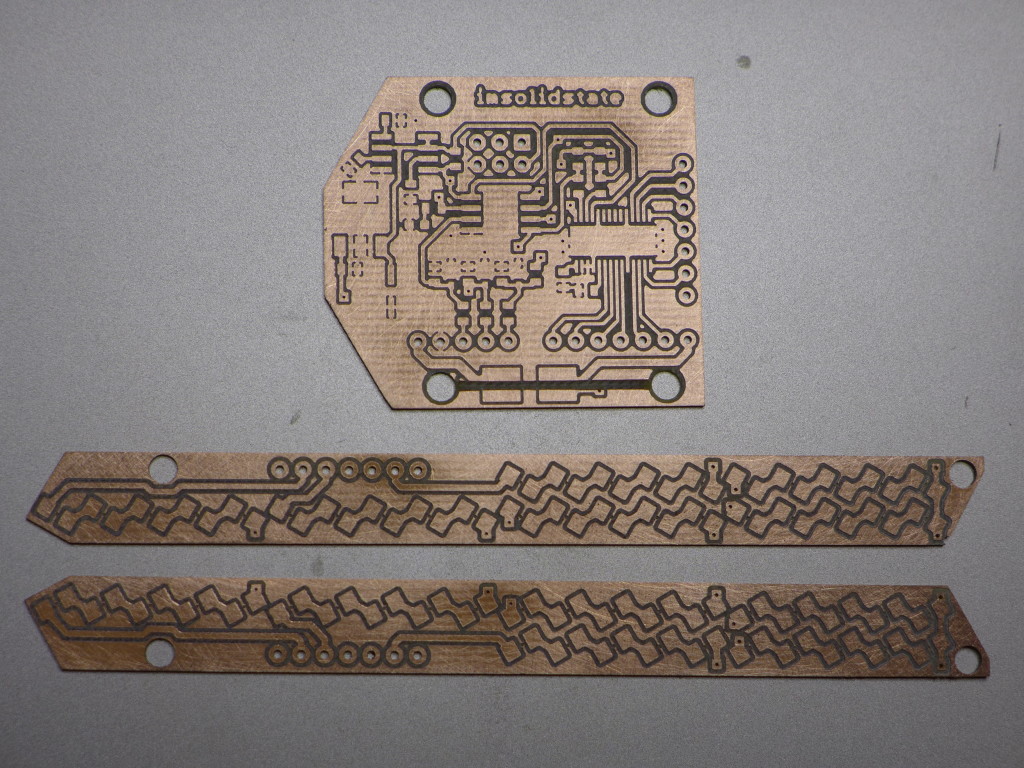
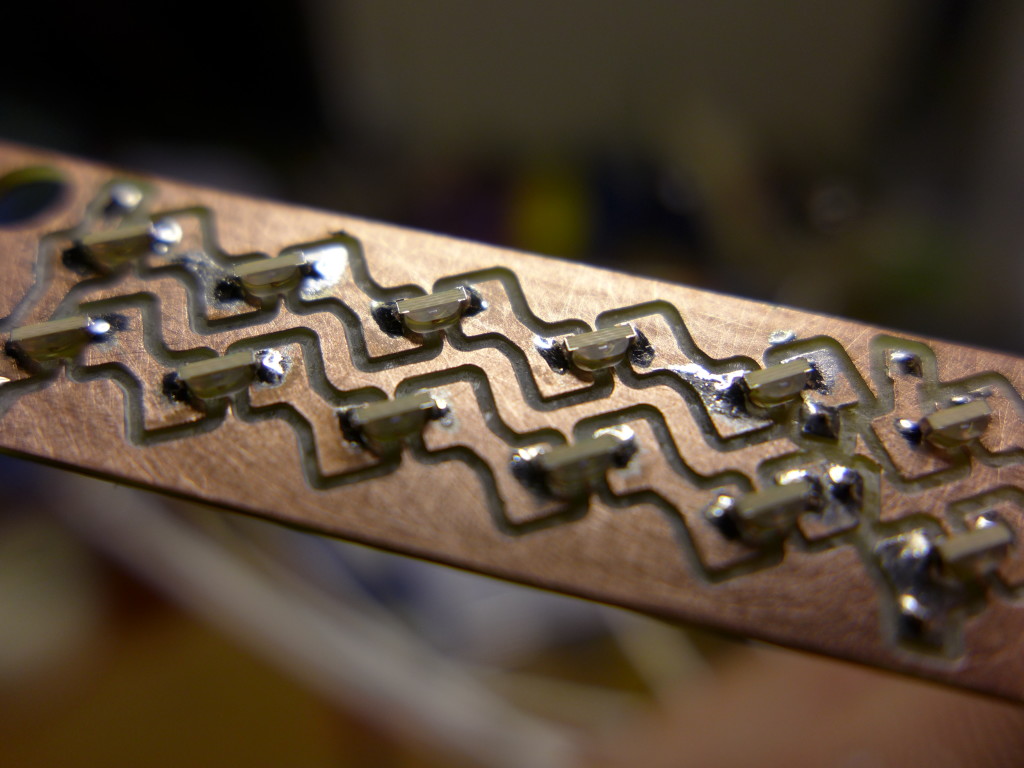
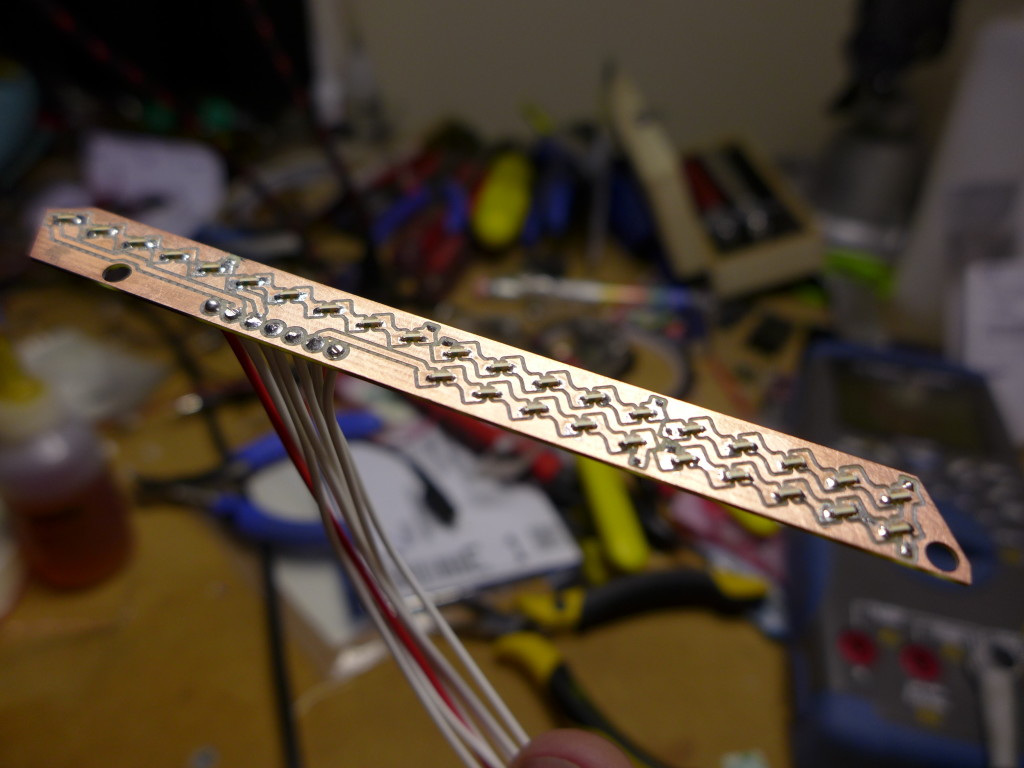
Finished PCBs
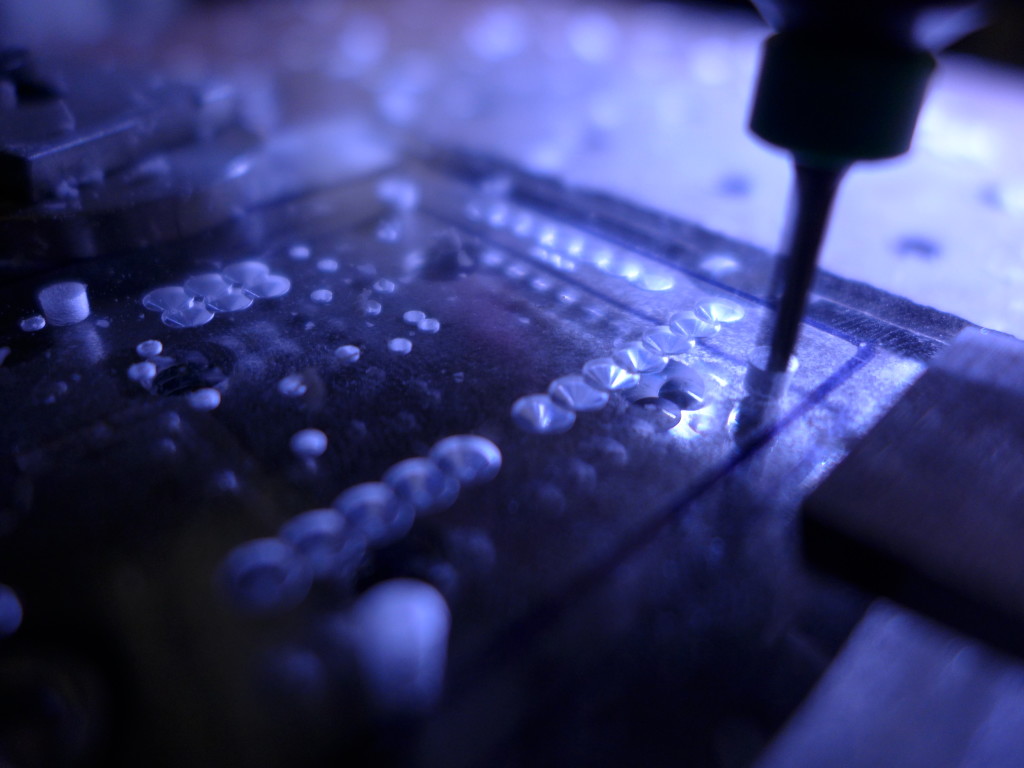
Machining the acrylic
Side-emitting LEDs
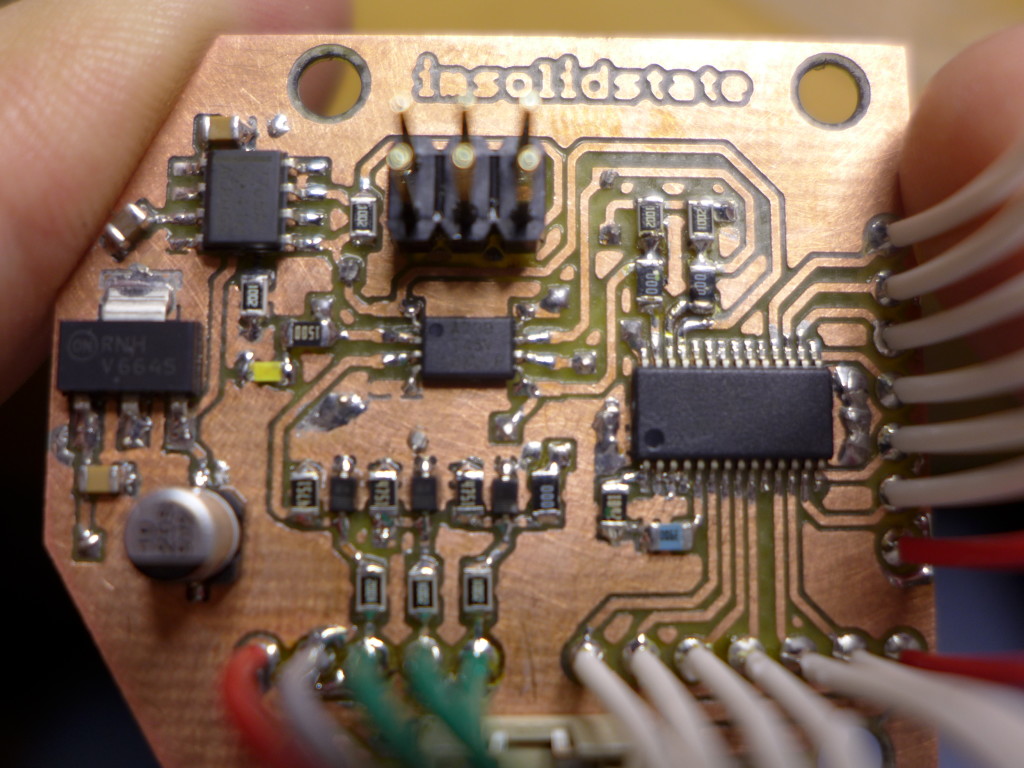
Controller PCB populated
Final assembly (this version had wires for testing, next version would be all PCB)
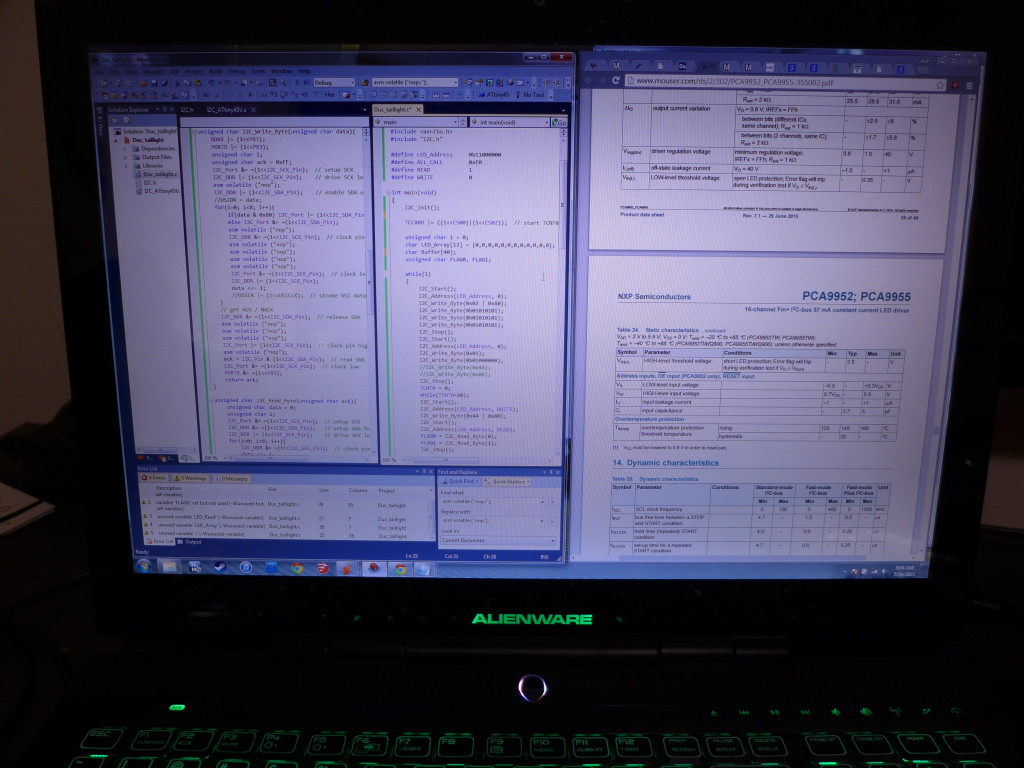
Writing C code for the ATtiny45
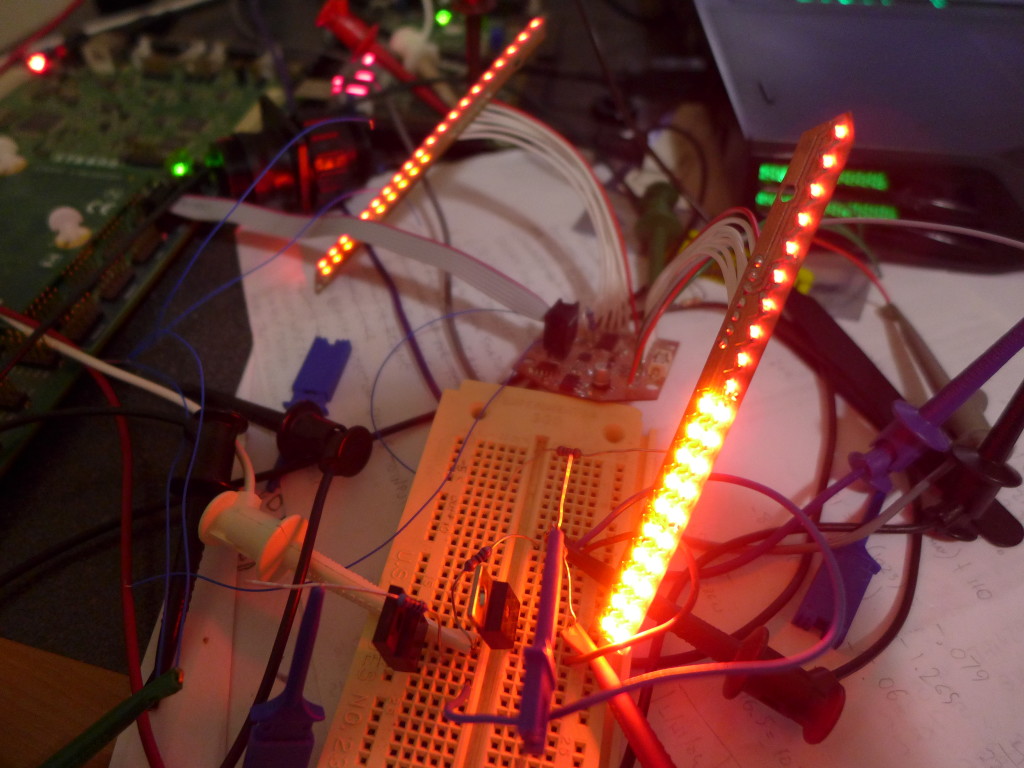
Bench testing
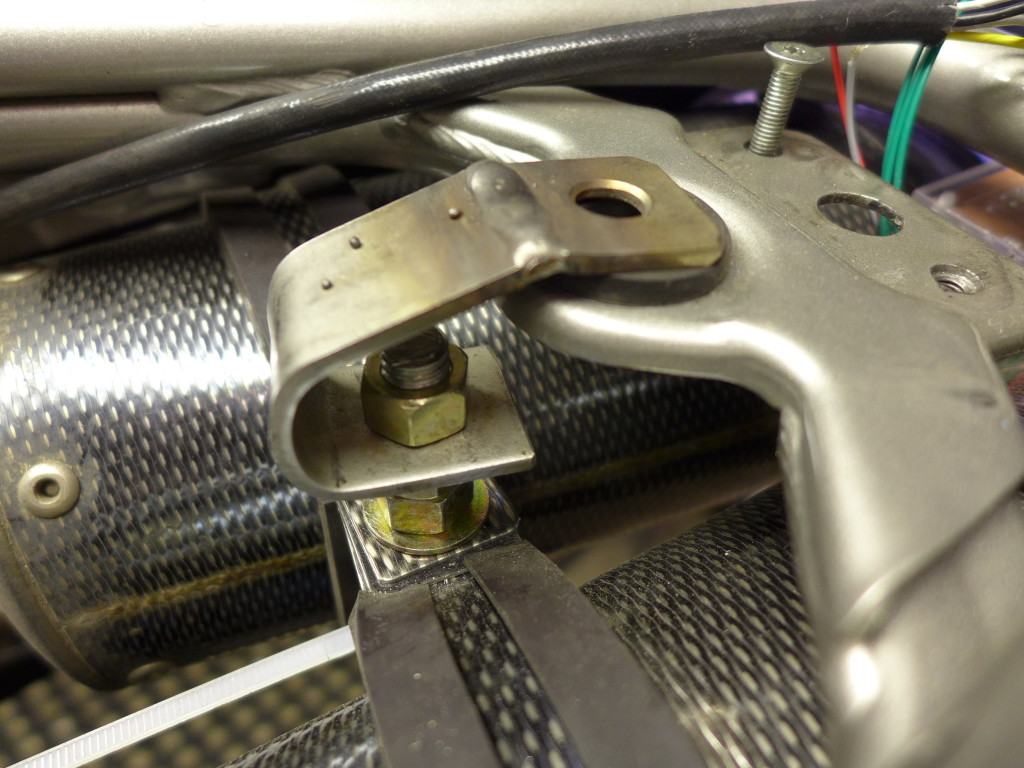
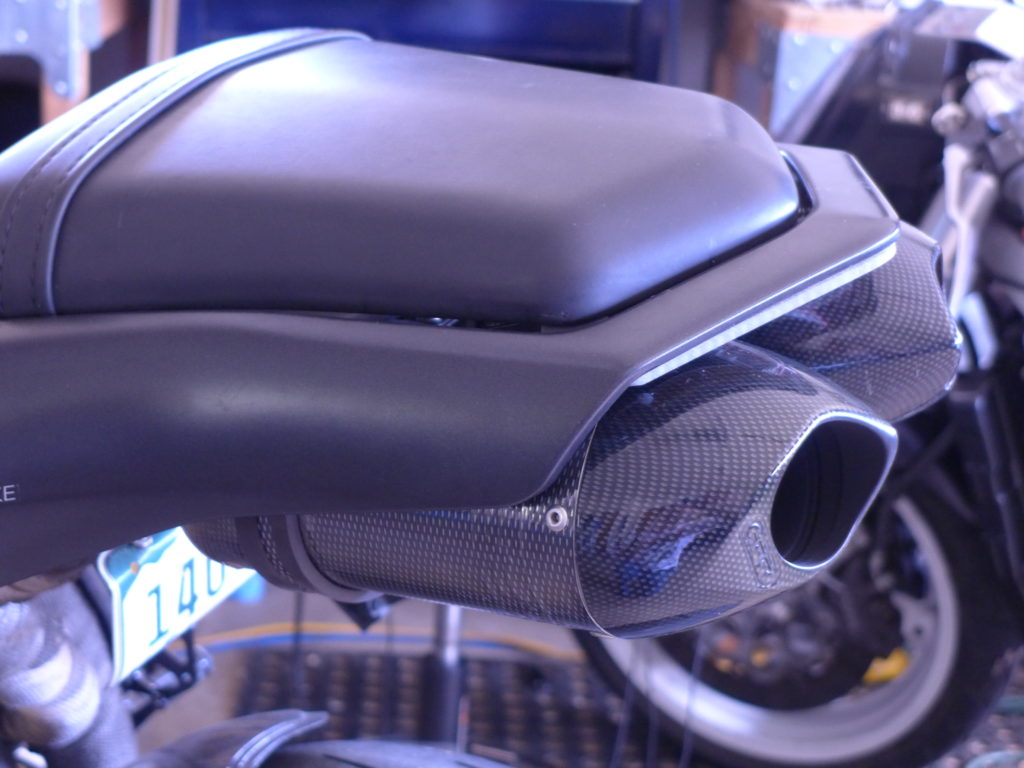
Made a bracket to mount the silencers closer to the tail fairing
Test fitup
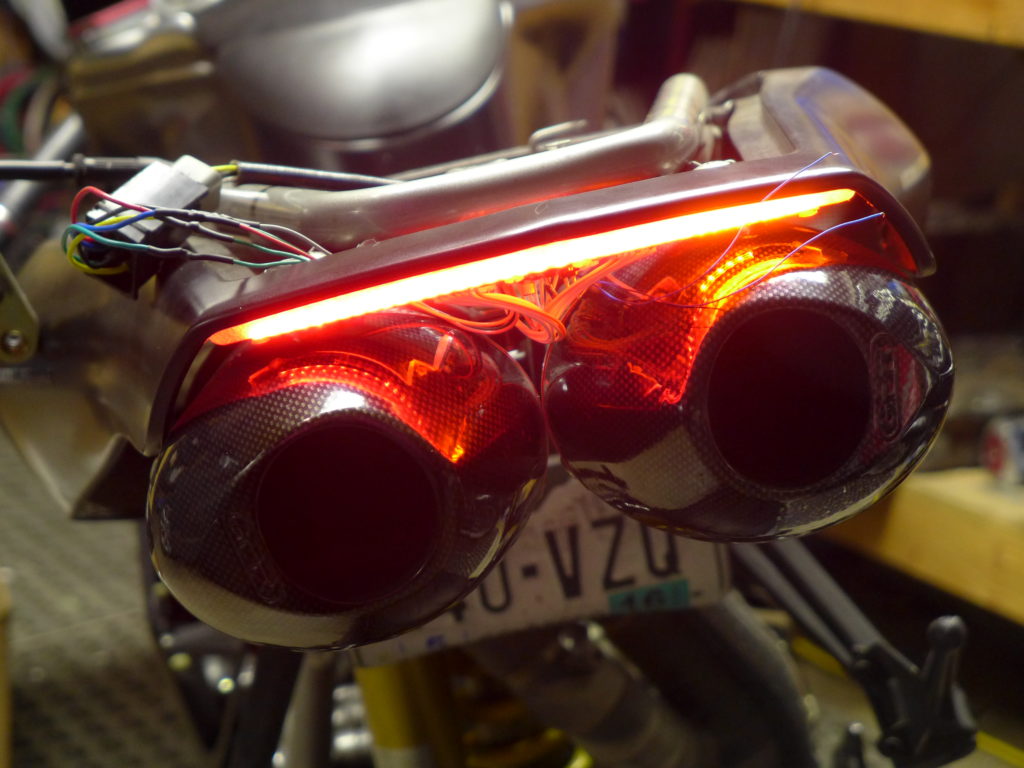
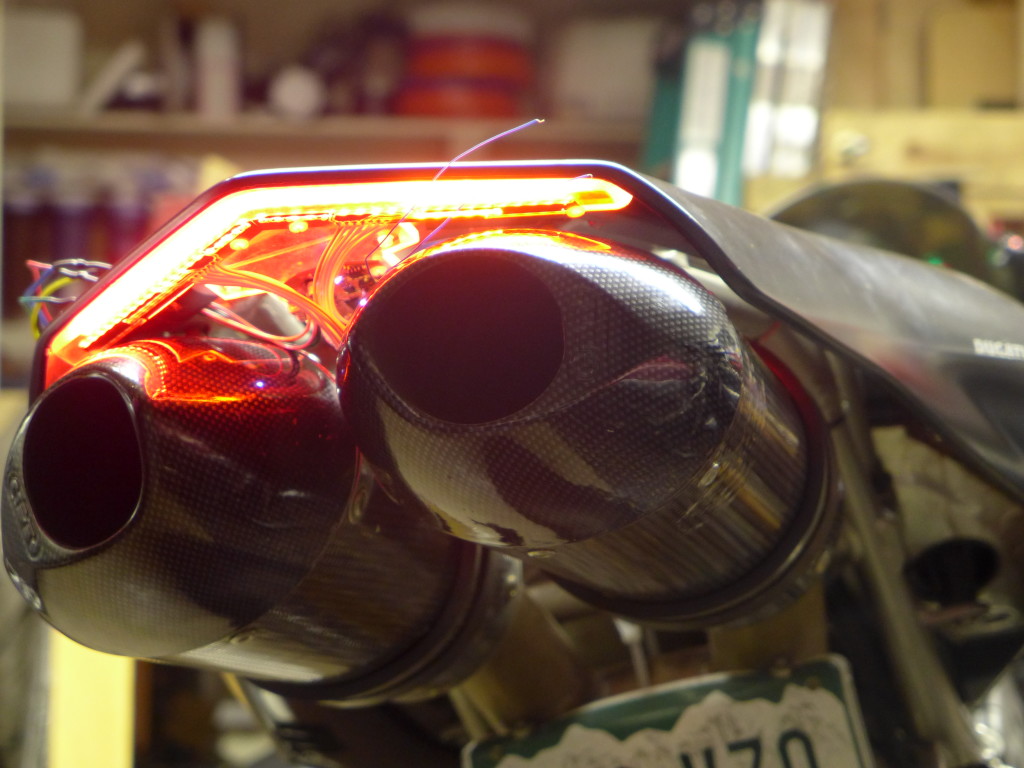
Finished
**Update**
Found schematics as requested.
Original version based on MP3391, didn’t end up going with this controller/driver because it only has 8 string output. With 8 strings and 60 LEDs I would need more than the available voltage to run a string which means adding a boost power supply. Too complicated.
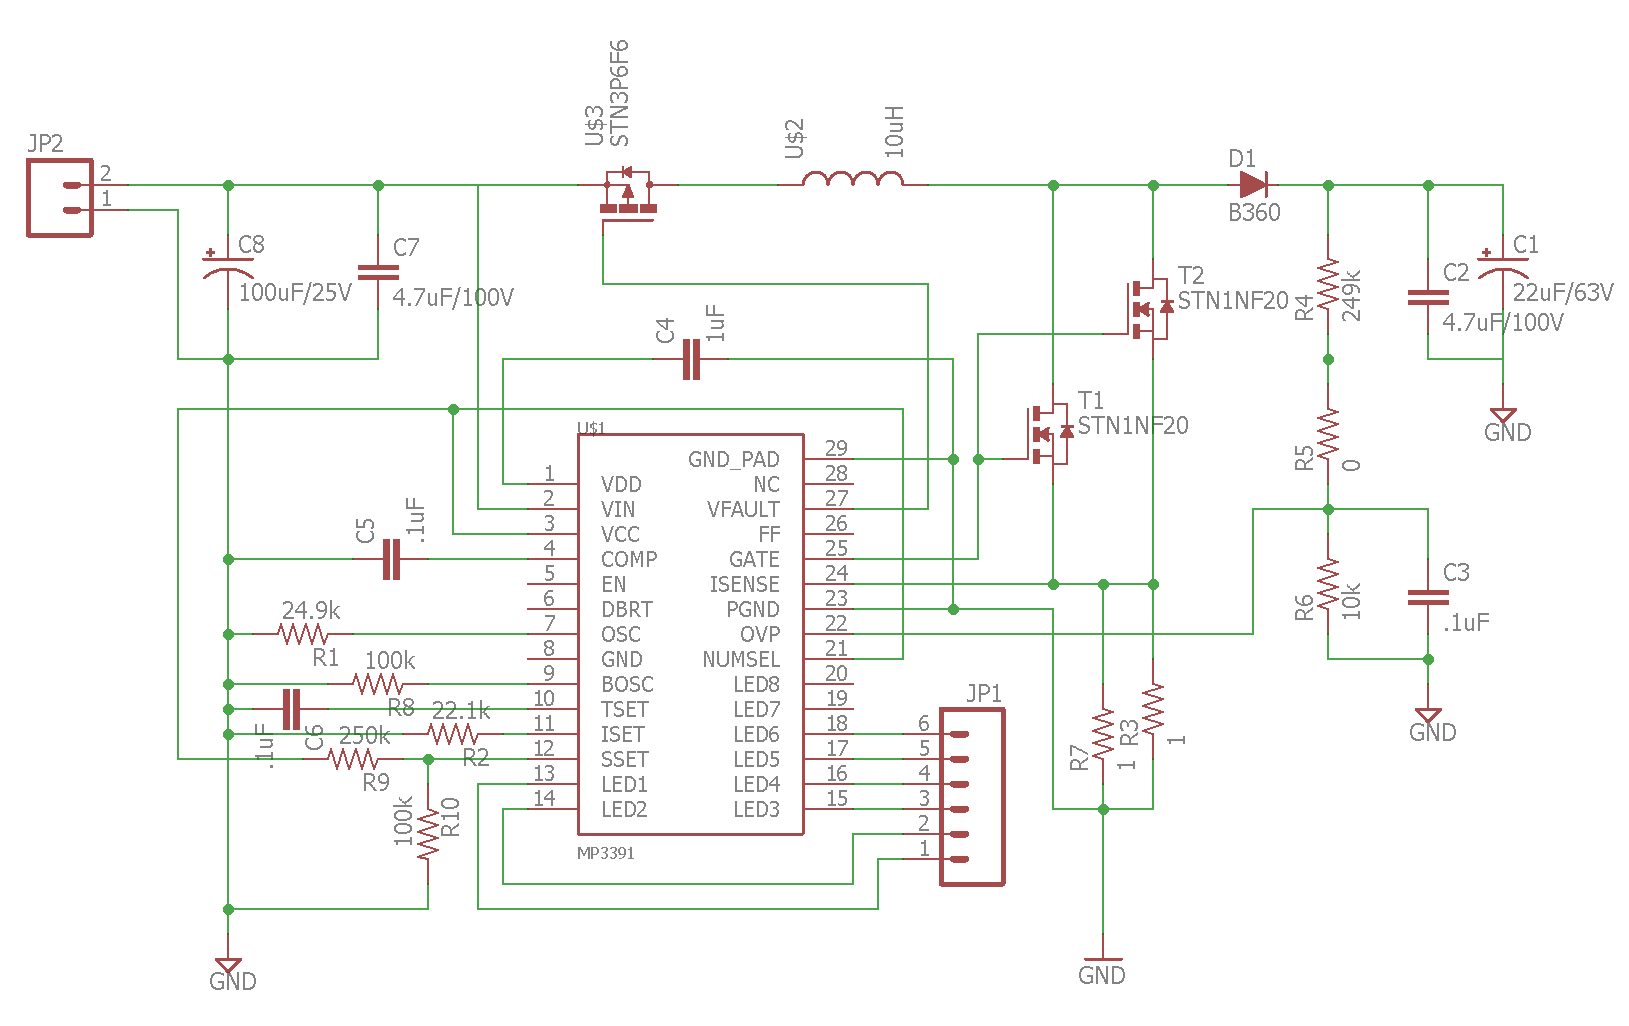
Then I found the PCA9952 which can control 16 strings and has lots of other lighting functions built in. I used 12 strings with 5 LEDs each for a string voltage of approximately 10.5V with a typical red LED Vf of 2.1V. With an expected input of 12-14V this gives the driver some overhead but doesn’t force it to waste power dropping voltage.
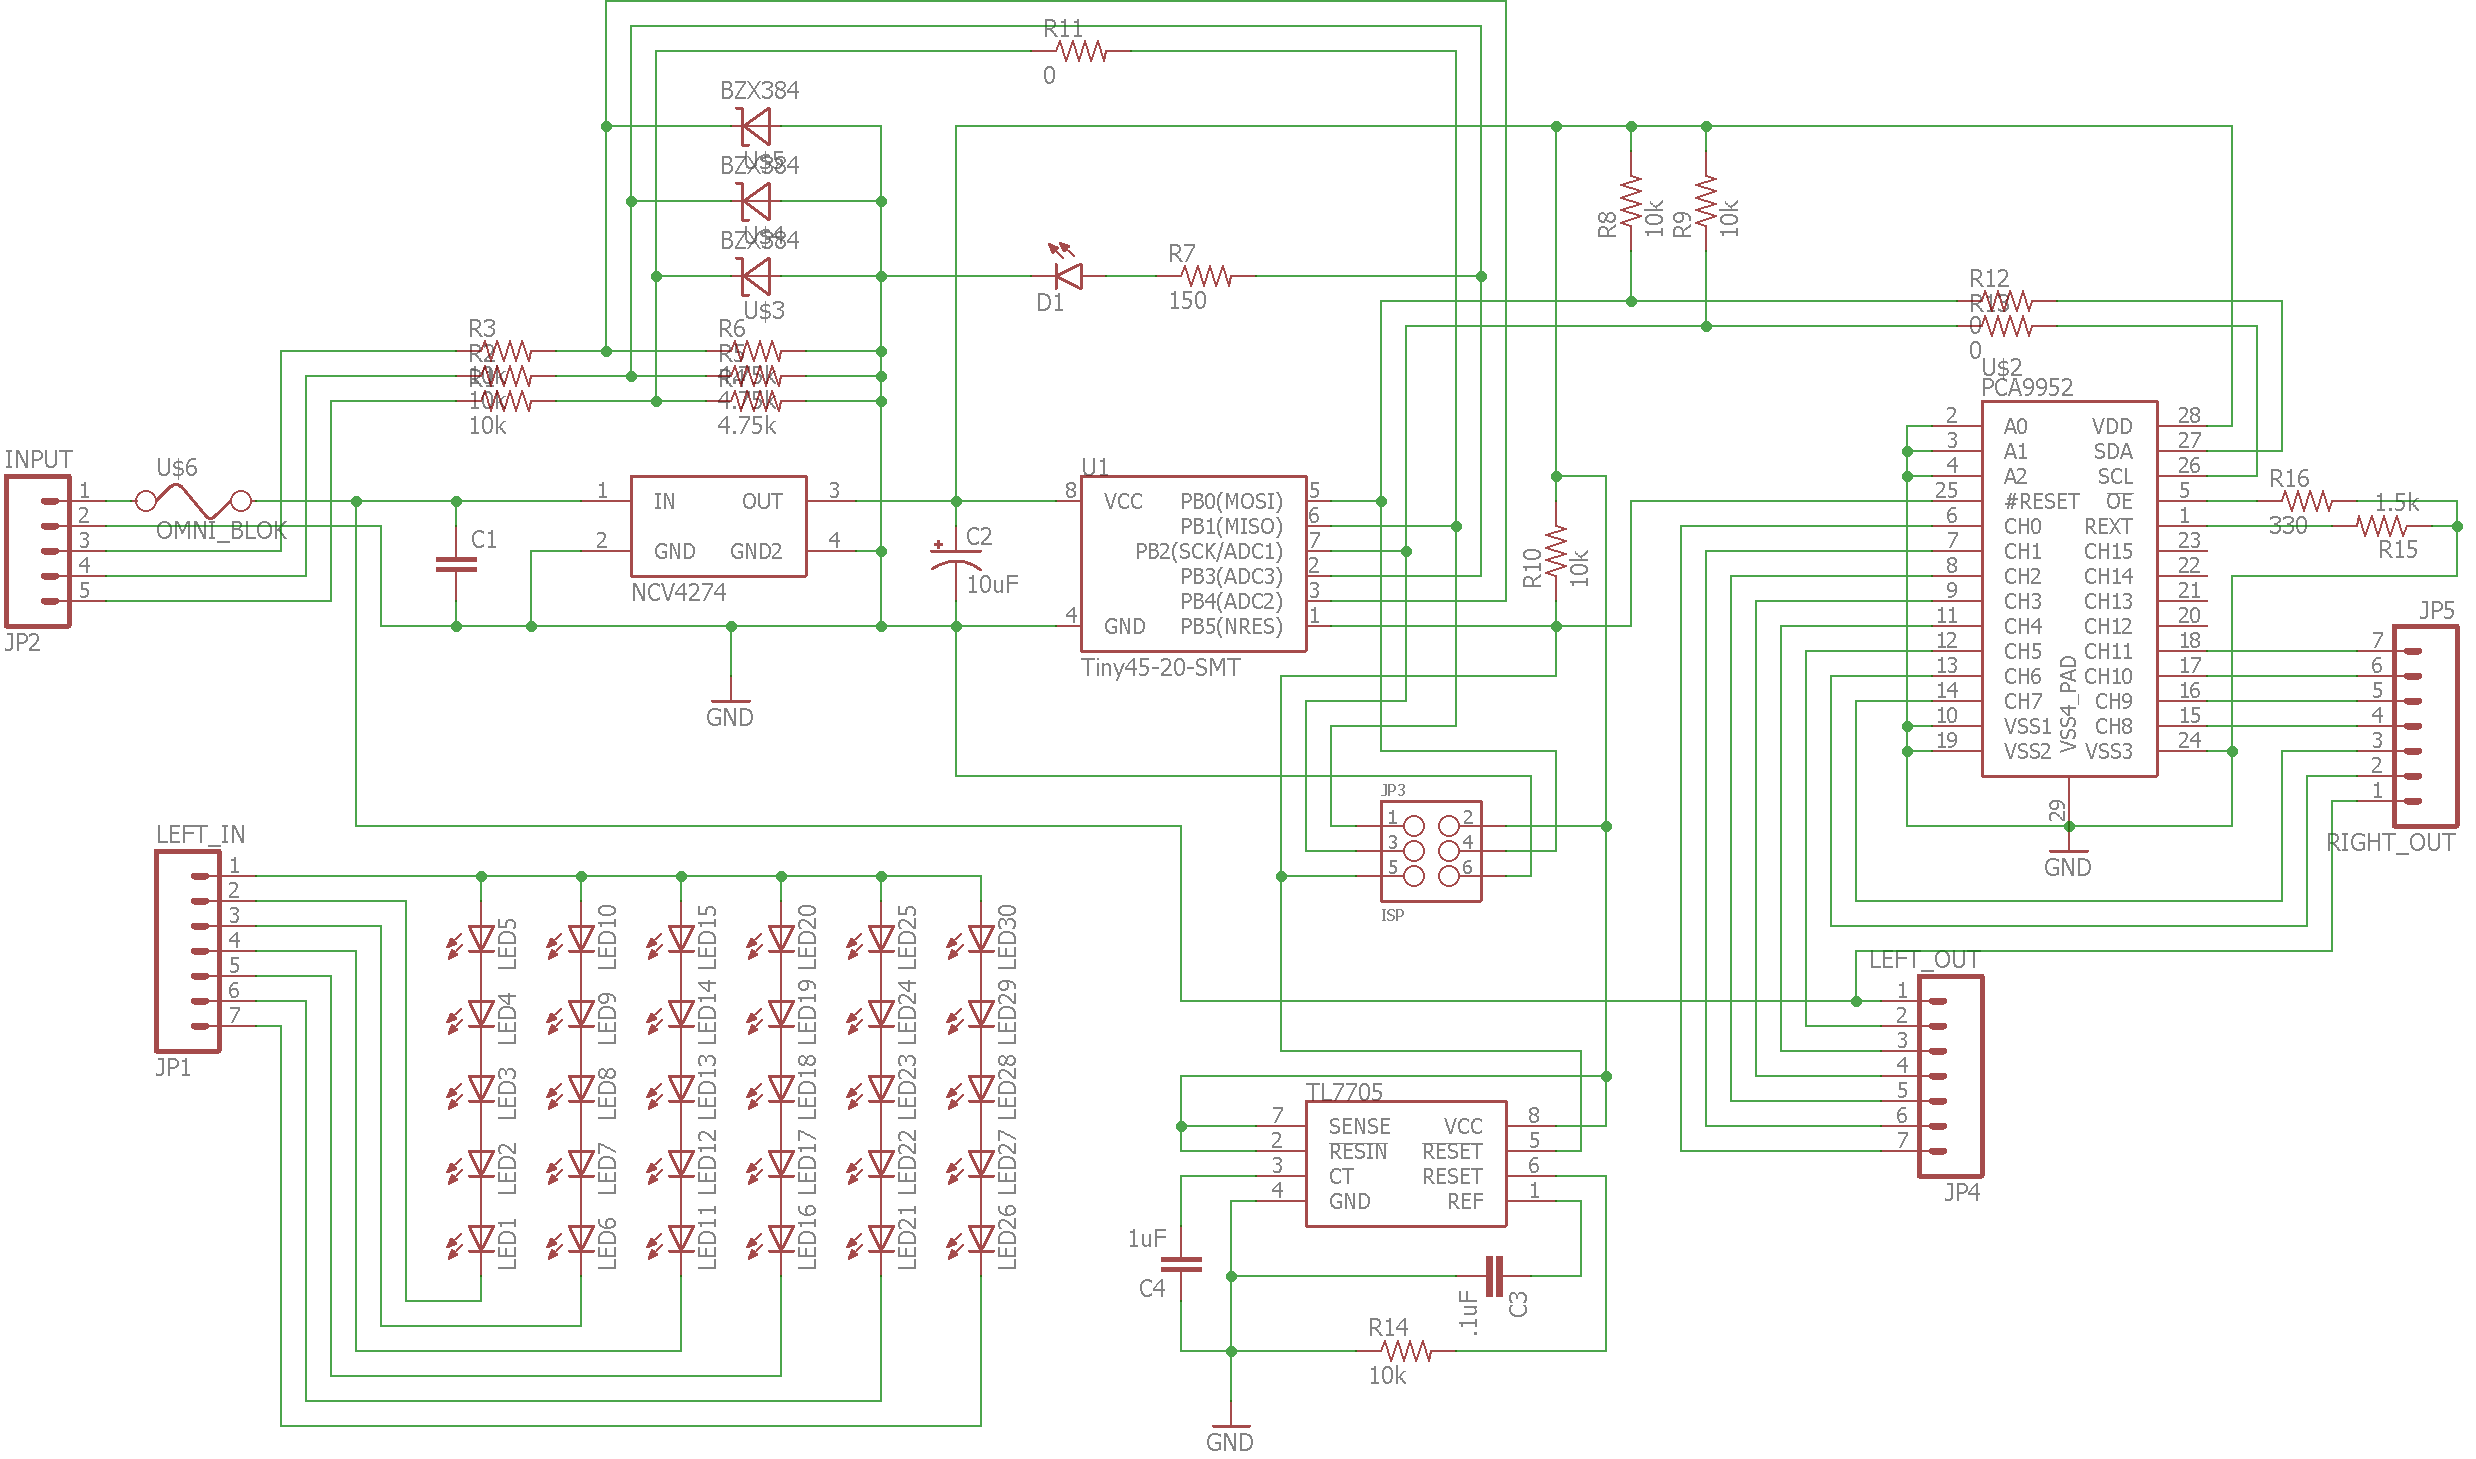
If it was really hot or I got stuck in traffic the PCA9952 would shut down occasionally. This would have been easy to fix with some heatsinking either on the PCB (the device has a thermal pad) or externally but at this point I was thinking about selling the bike for one I didn’t mind throwing down the track. So I abandoned my plans for brightness sensing and brake transition flashing and replaced the fancy controller with this simple version.
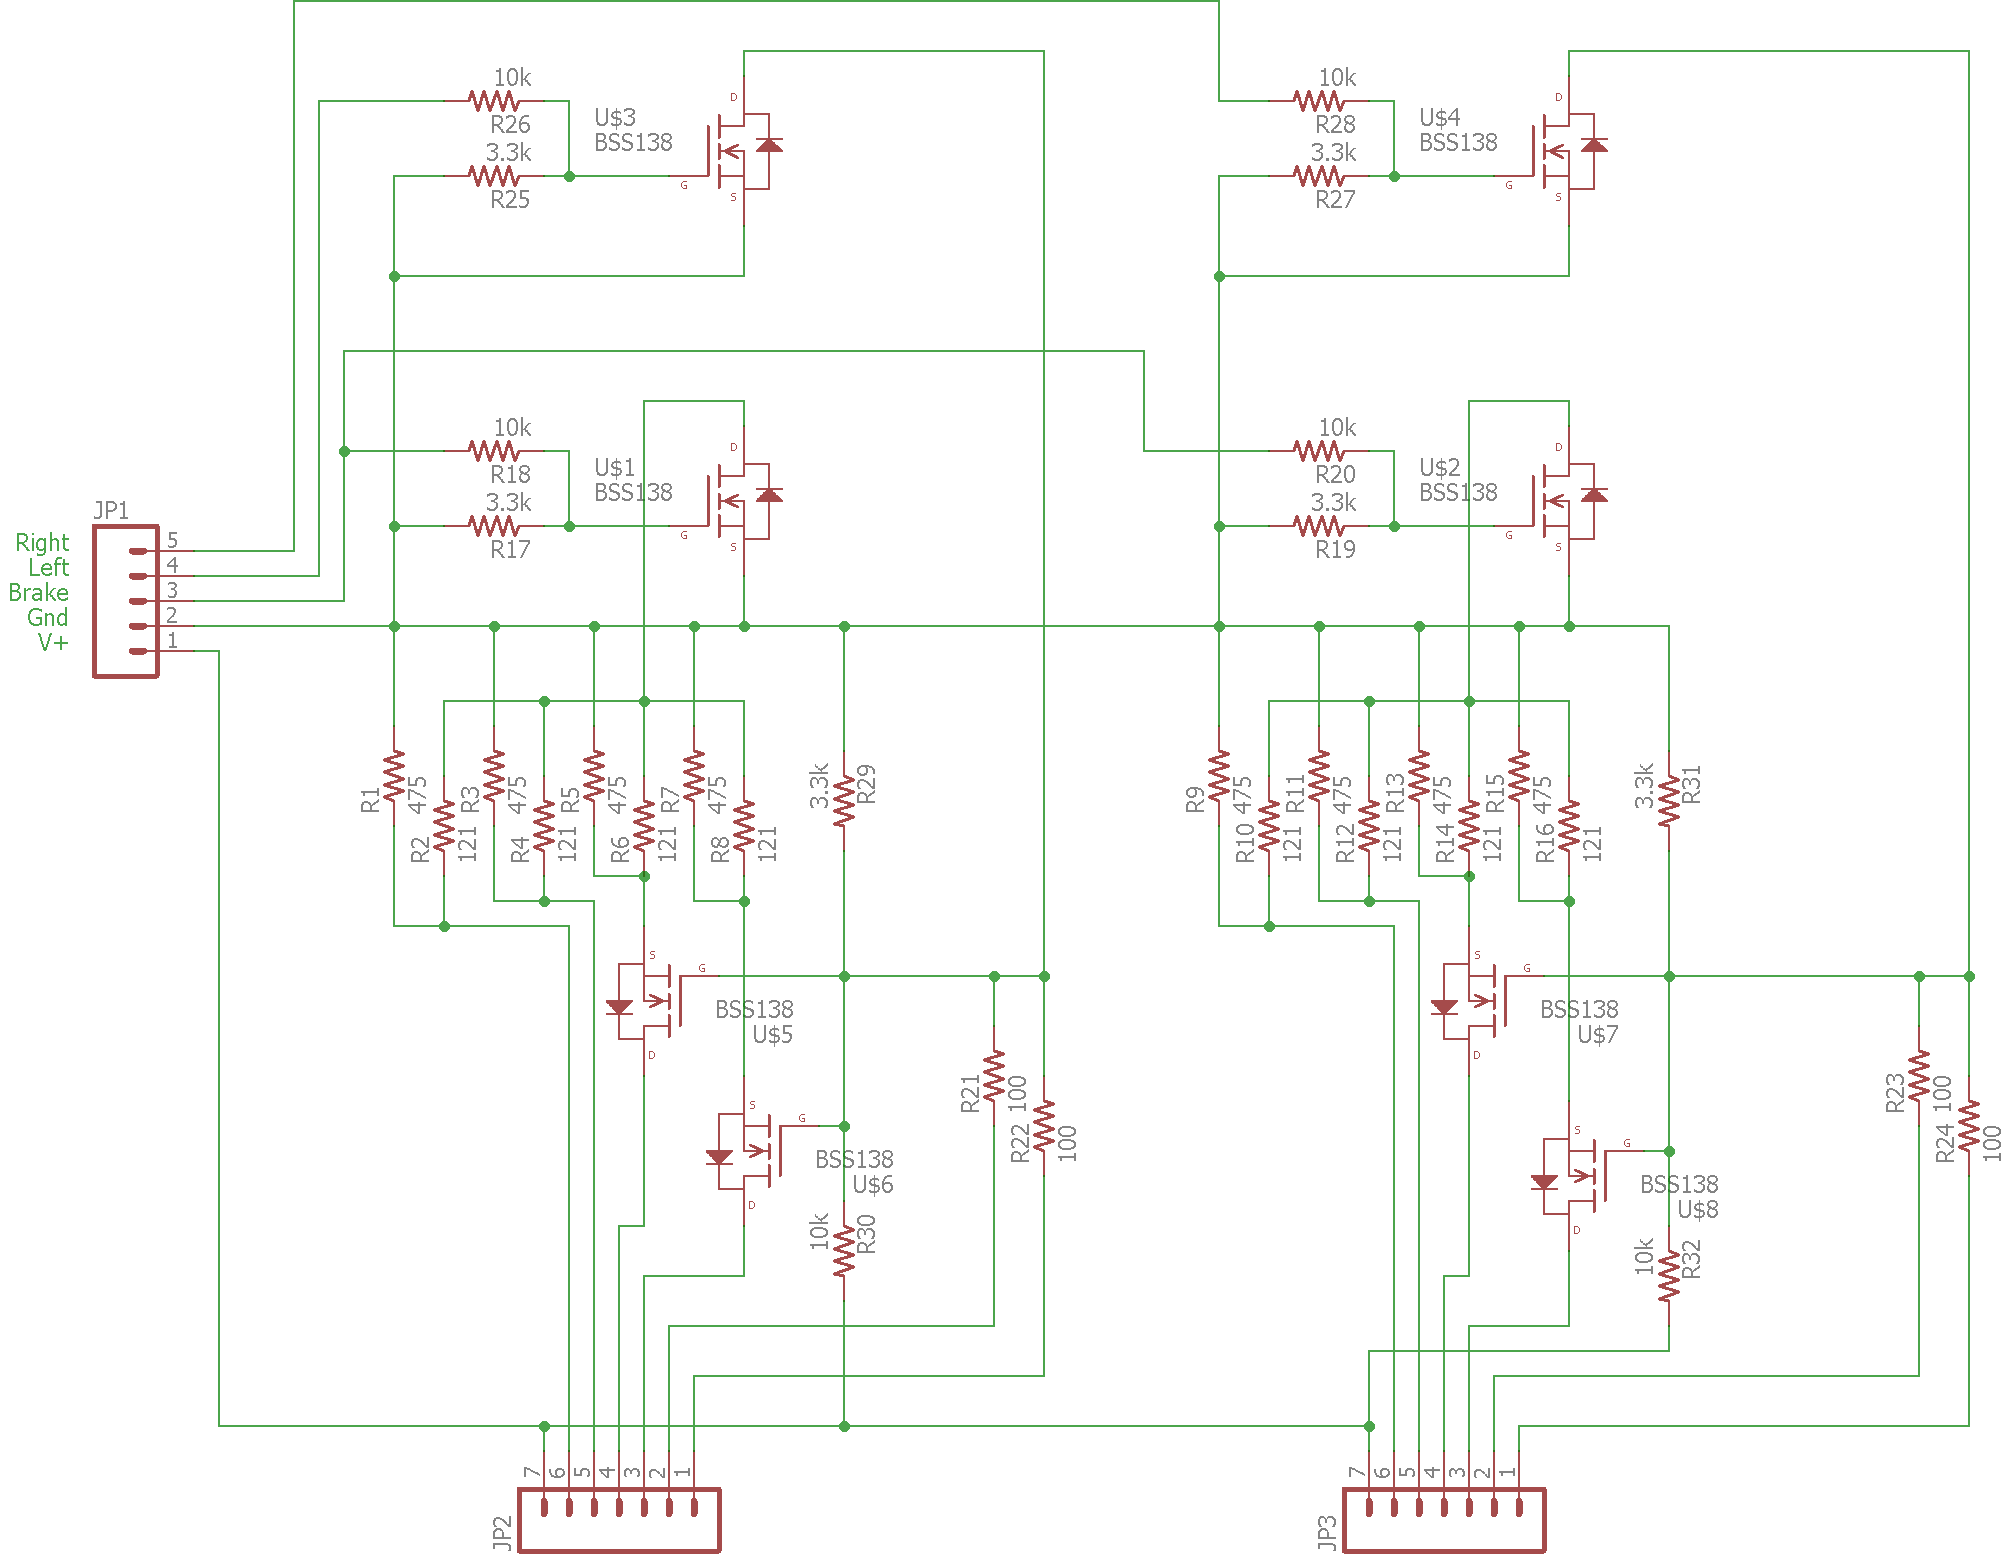
Transistors U1/U2 sense brake state and U3/U4 sense signal state. If U3/U4 are off, transistors U5+U6/U7+U8 are biased on and the brake segments function normally. If either of the signals are on, the base of the transistor for the corresponding side is pulled to ground which turns those brake segments off and the signal segments on. I wish I had a video of it but I don’t, it looked really good. I never had any heat issues with this either from the electronics or the acrylic.
10 Comments to Ducati 749/999 Tail Light
Leave a Reply
Other Stuff
Recent Posts
- 6CY7 dual triode valve amplifier
- Air quality sensor (TVOC and eqCO2)
- Automotive rear fill “surround sound” with Boss DD-3
- Spring tester / weight scale
- Ducati 749/999 Tail Light
- Instruments for the GSXR
- Light pipe tail light for the GSXR
- M17x 6990m / 6970m overheating
- PAR / Spectrum analyzer
- Acrylic polishing and scratch removal
Archives
- May 2019 (2)
- April 2017 (3)
- October 2015 (1)
- May 2015 (1)
- March 2014 (2)
- December 2013 (1)
- July 2013 (1)
- November 2012 (1)
- October 2012 (4)
- September 2012 (1)
- August 2012 (3)
- June 2012 (1)
- March 2012 (1)
- February 2012 (1)
- January 2012 (1)
- October 2011 (3)
- July 2011 (1)
- June 2011 (3)
- May 2011 (2)
- April 2011 (1)
- December 2010 (1)
- August 2010 (1)
- July 2010 (3)
- April 2010 (2)
- March 2010 (2)
- January 2010 (2)
- December 2009 (2)
- October 2009 (2)
- September 2009 (1)
- August 2009 (15)
[…] Motorcycles are hard to see at the best of times, so riders are often concerned with making themselves as visible as possible at all times. [Josh] wanted to do this by creating a custom tail light for his Ducati 749. […]
Nicely executed physical design.
I do hope the pulsating lights do not generate a persistence of vision stroboscopic effect.
At night, when a driver is scanning the road side to side, it creates the appearance of multiple taillights side by side. This interferes with depth perception. object tracking, and even lane keeping.
That’s true, good point. I was planning on just a few pulses that would last maybe 200 milliseconds when the state changed from off to on. I don’t think that would be enough to cause a problem but if I ever make another one I will test for persistence of vision.
Nice work! Any issues with the exhaust cooking the acrylic? I had a 749 back in the day (lordy I *loved* that bike) and remember how hot the tail end would get.
Did you look into integrating turn-signal functionality at all?
Thanks. With aftermarket exhaust the tail stays fairly cool. The factory exhaust was really restrictive and hot. The acrylic was fine but I did have a problem occasionally with the LED controller if it was really hot out. I had another version in the works with some heatsinking but I sold the bike and didn’t finish it.
It had integrated turn signals, that’s what 4 of the segments were for if I remember right. The outer two brake segments would go off if the signal was on and the two orange segments would light instead. I don’t think I have any video or pictures of it but I’ll look when I get home.
Great idea. Do you have schematics? Love the PCB2Gcode and plexiglass milling. I have done lots of that recently. I have an old Bimmer and want to make custom lights as well. Just curious, why not use a MAX7219 or similar driver?
thanks,
Mike
Mike, I updated the post with schematics.
The MAX7219 looks like a good driver, I’ll be keeping it in mind for other projects. I think for this project it would have made wiring a bit complicated though.
Thanks for uploading the schematics. Looking forward to checking out future projects of your’s. I’ll keep your URL on speed click.
Is it possible to buy one from you ?? Let me know thanks. Leeholts14@gmail.com
Where did i to buy It?