Acrylic polishing and scratch removal
I recently acquired a 46 gallon ZeroEdge aquarium that was in pretty rough shape. There were a lot of scratches as well as marks from calcareous algae. Here is what I did to repair it.
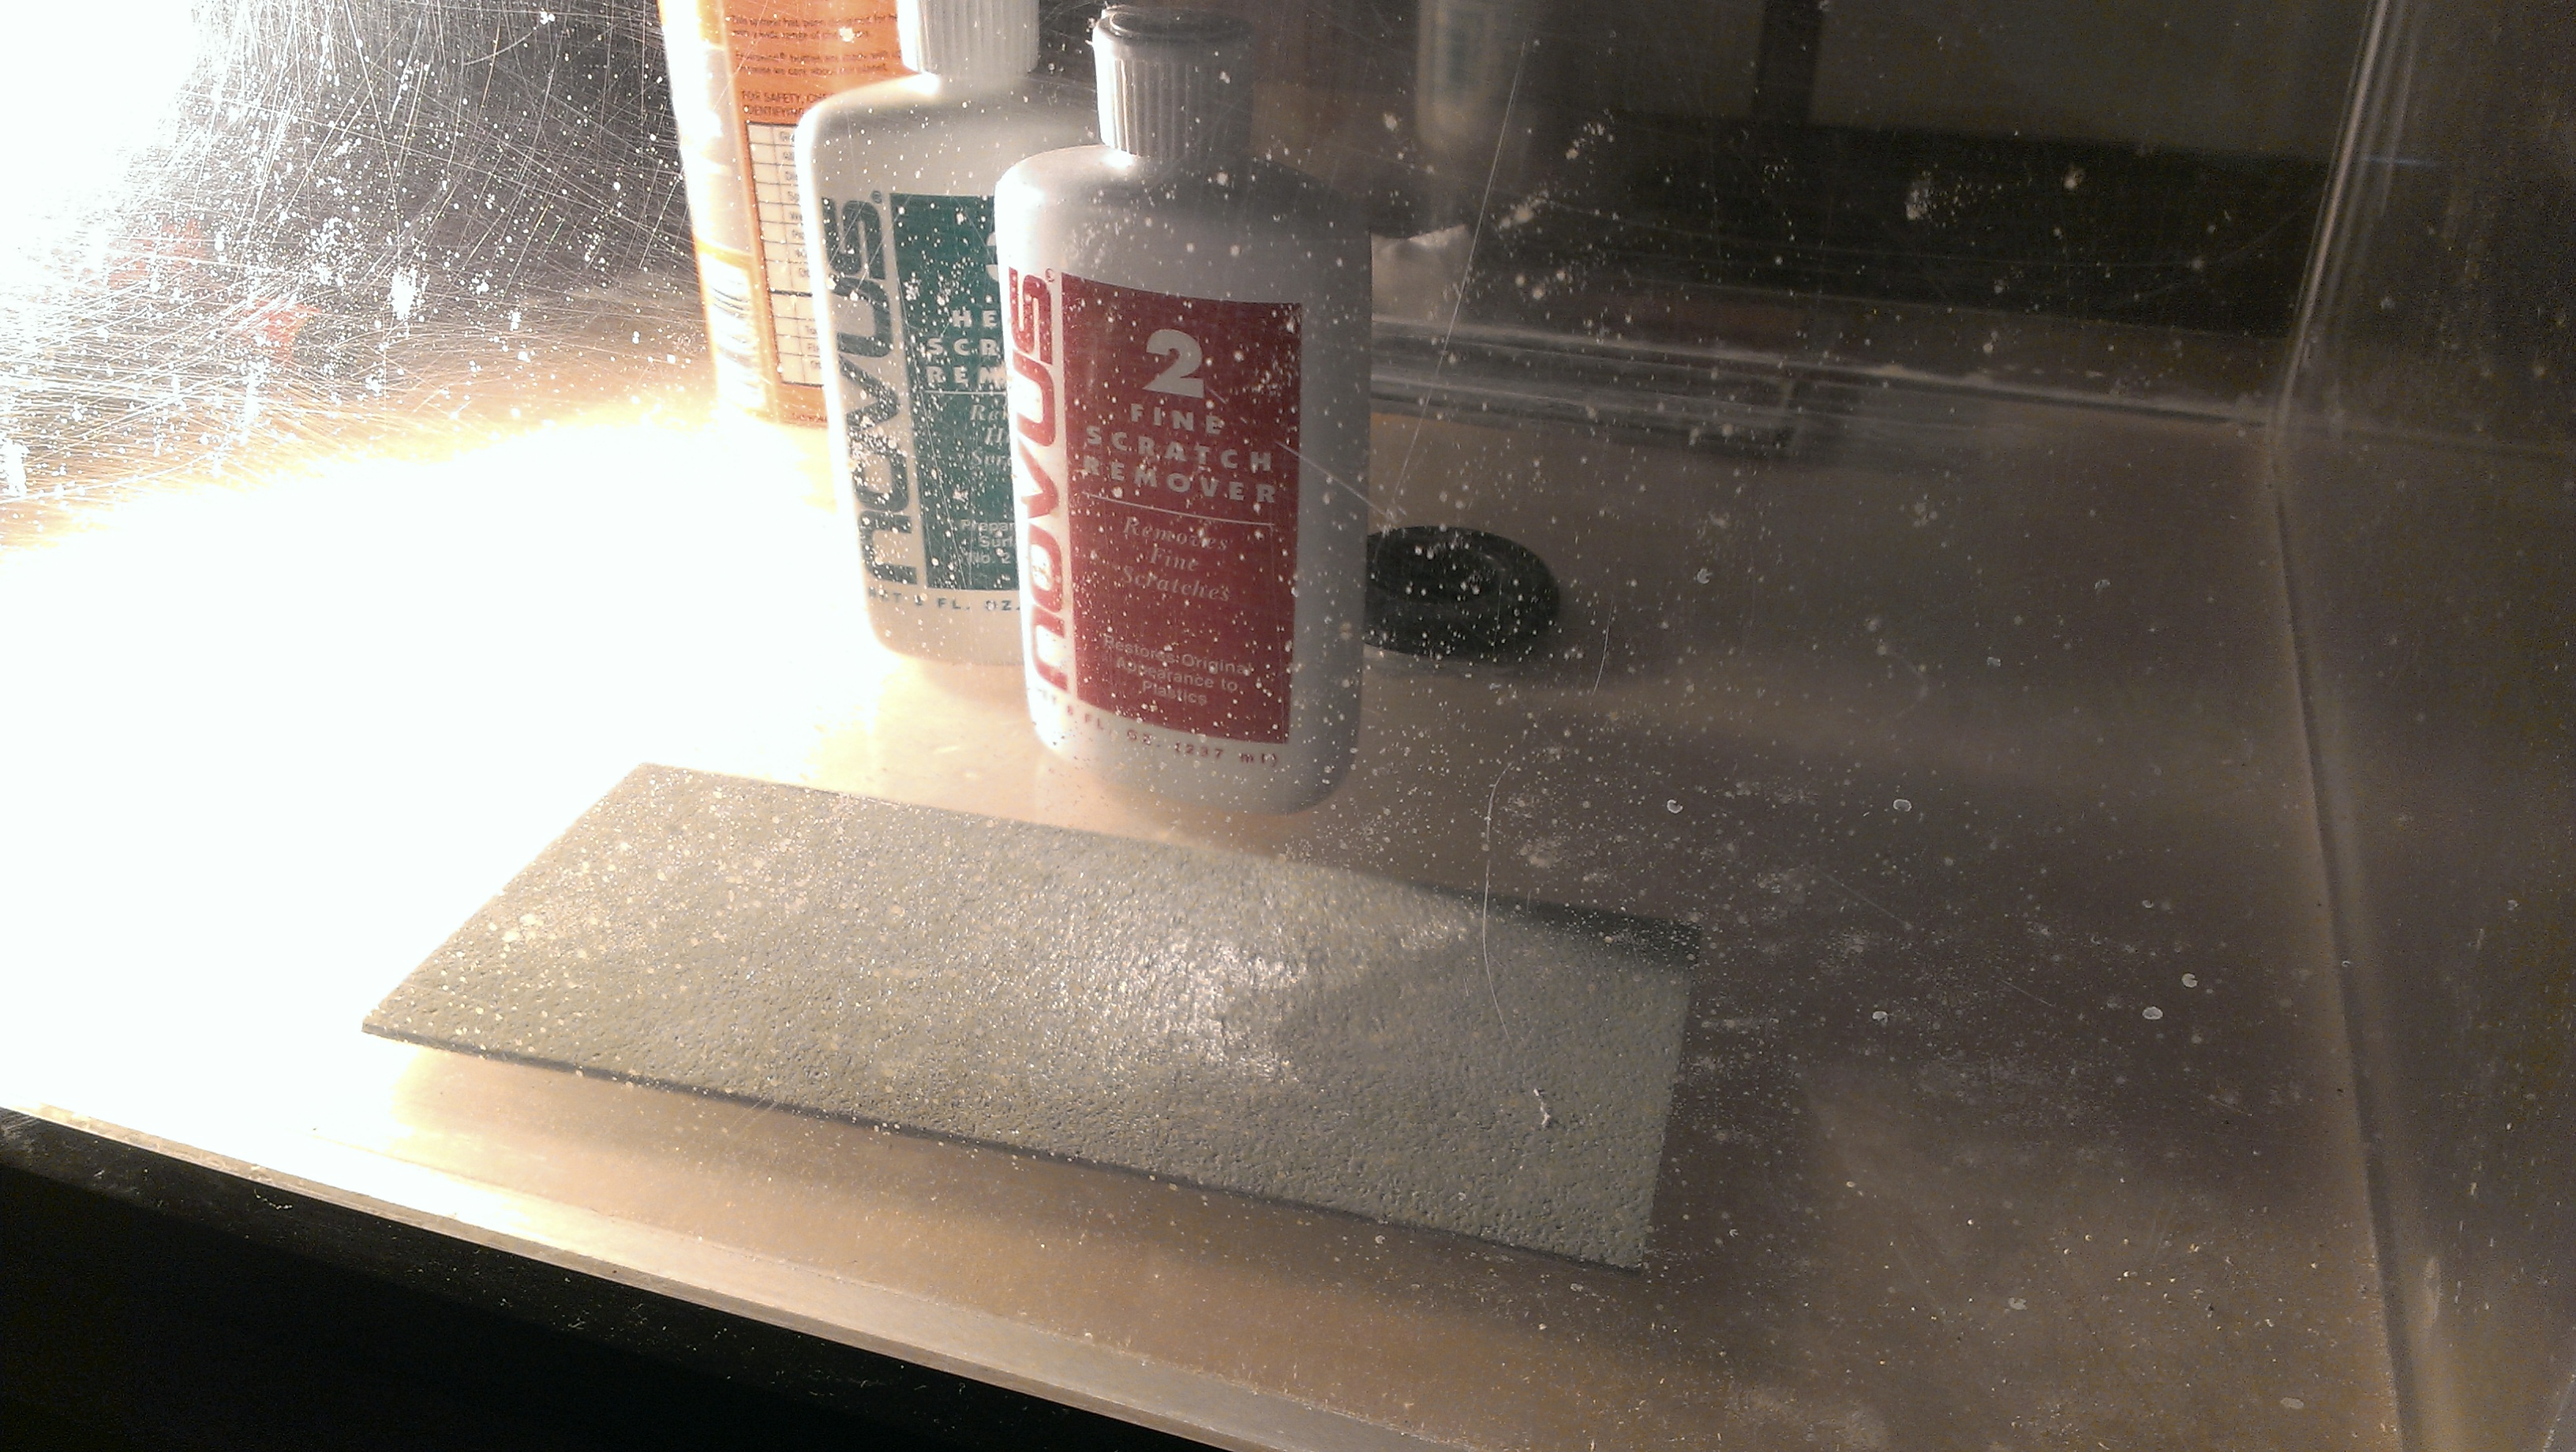
You will need the set of Novus plastic polishes, which includes #1, #2 and #3. I got this at Amazon. You will also need 3000 grit sandpaper. I got mine at an auto parts store, it has a thin sponge backing and worked really well. If you have deep scratches you might want to start with 2000 grit. You will also need a sanding block, spray bottle with water, a bright light and a buffer.
First get the sandpaper into the sanding block. Wet the sandpaper and the acrylic with the spray bottle. Now sand the acrylic in a circular motion, making sure to keep the sandpaper wet.
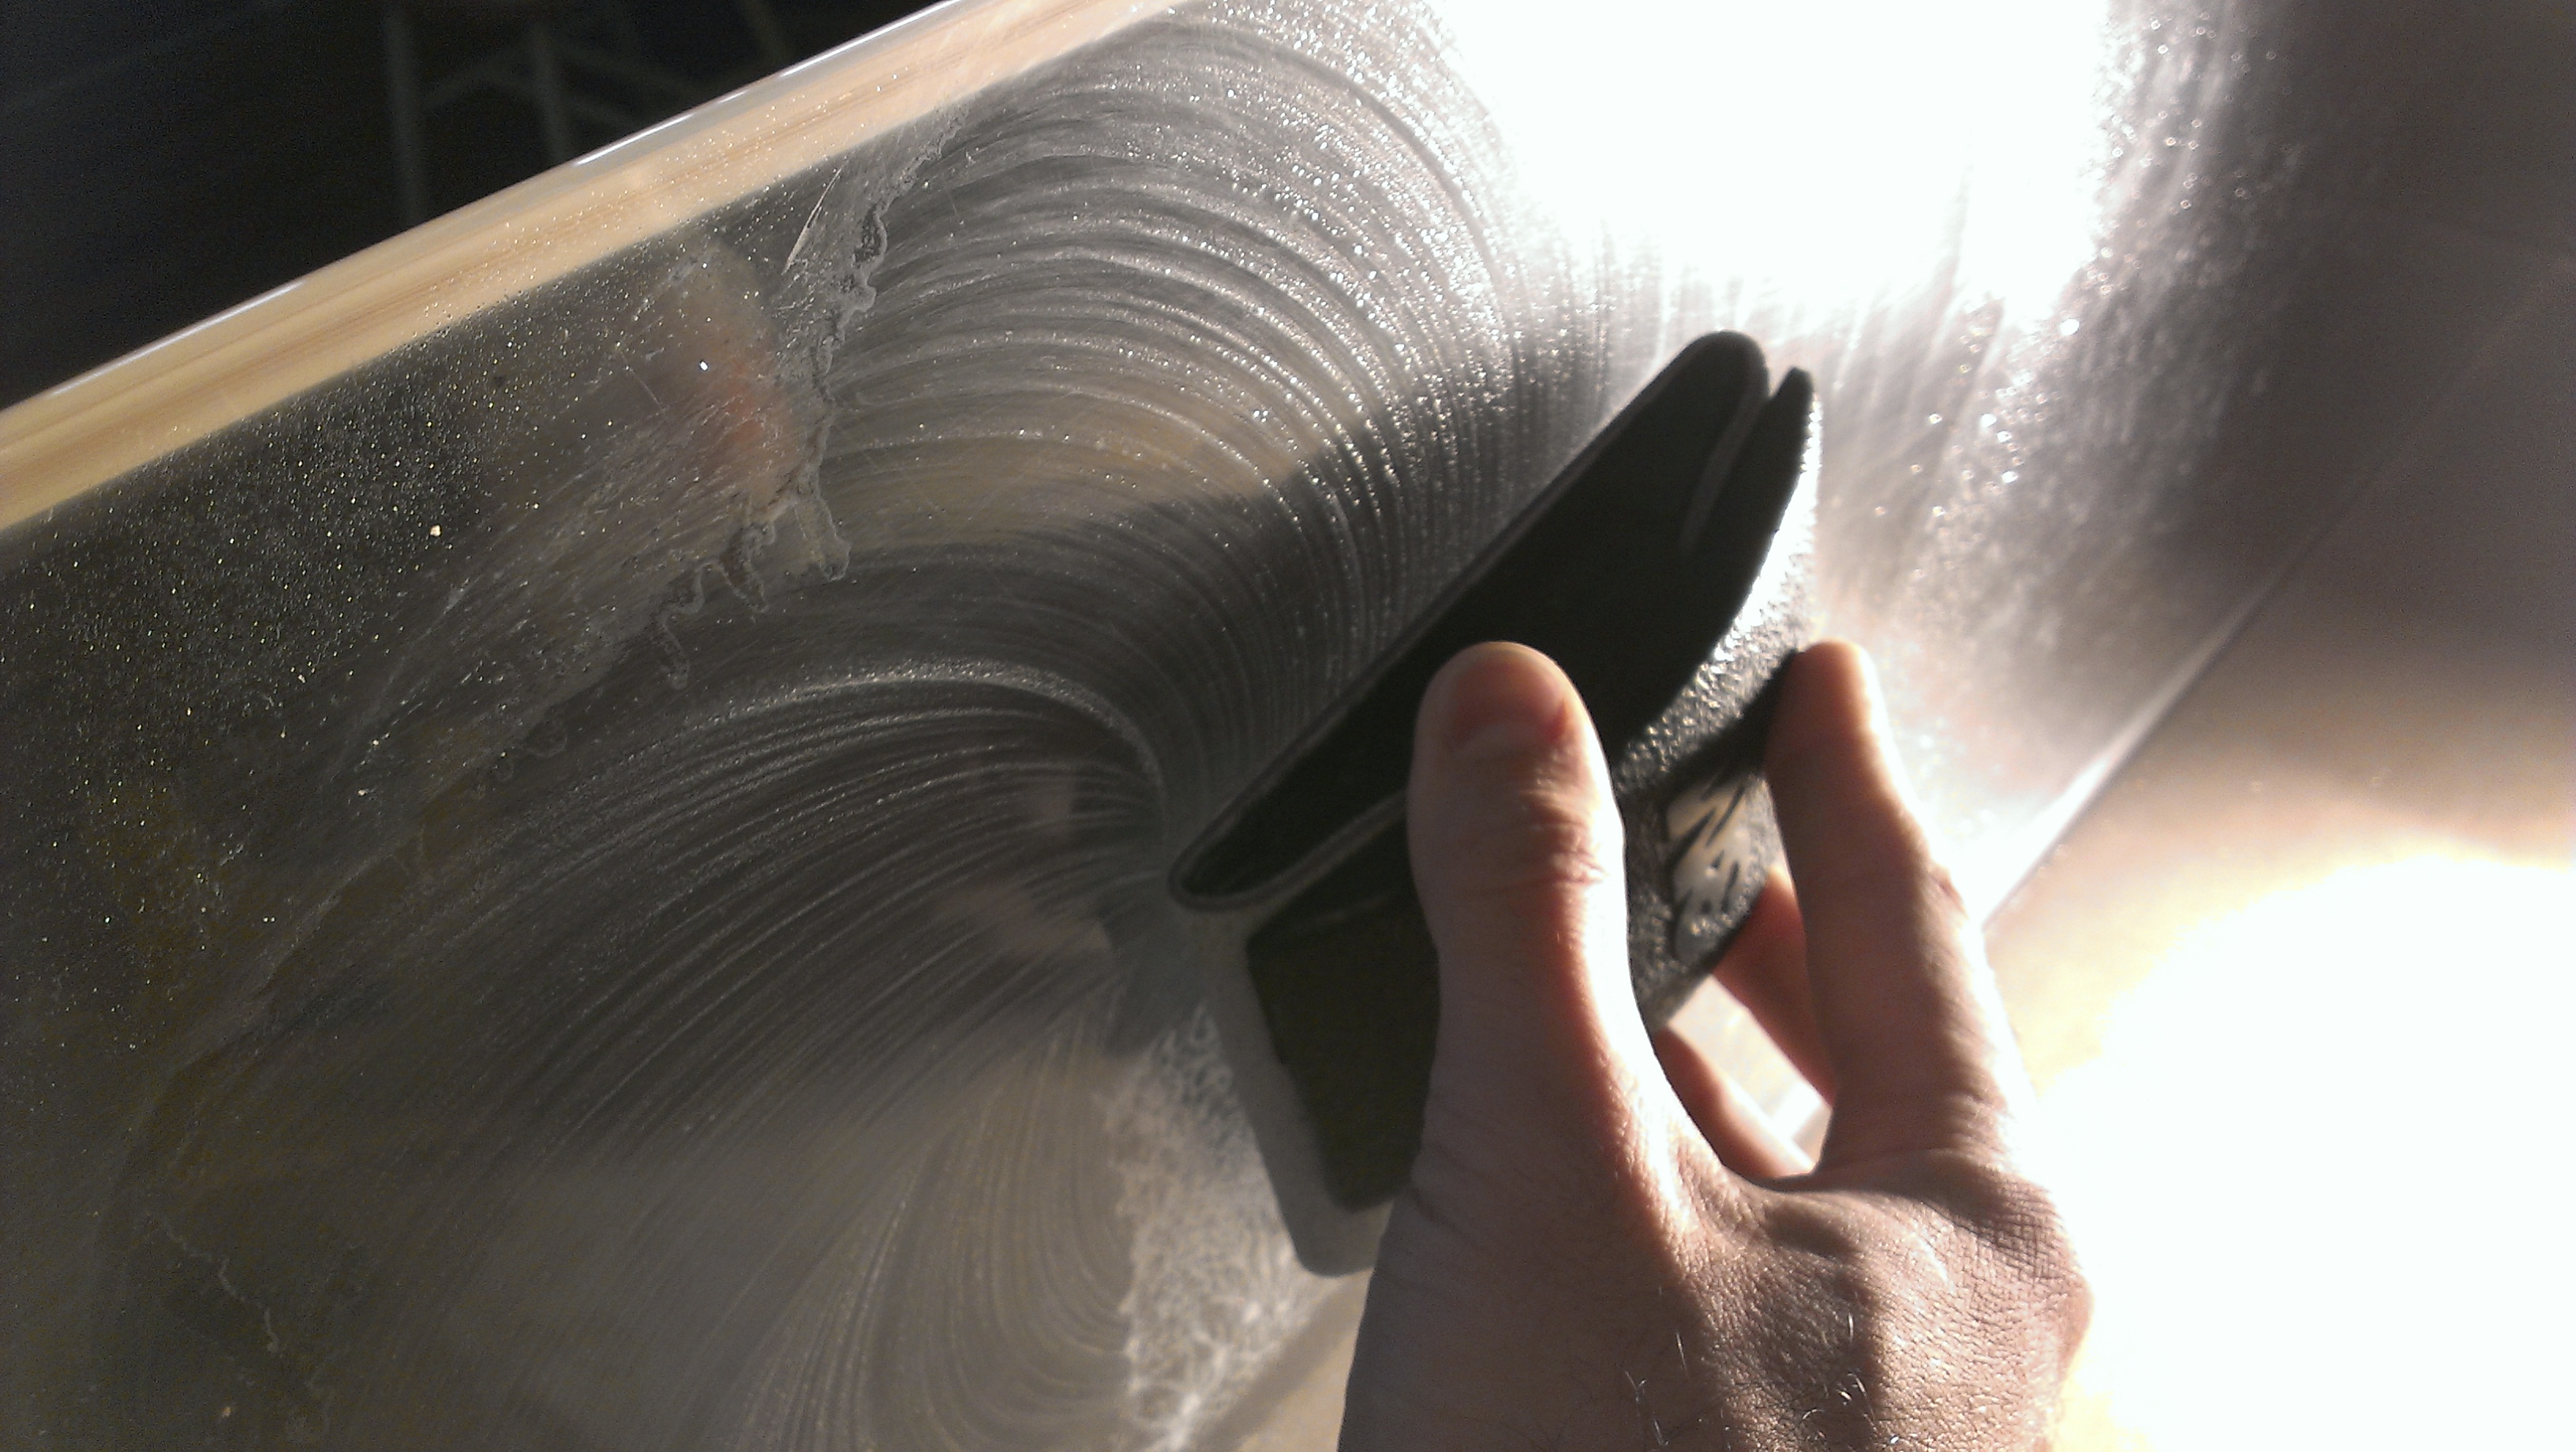
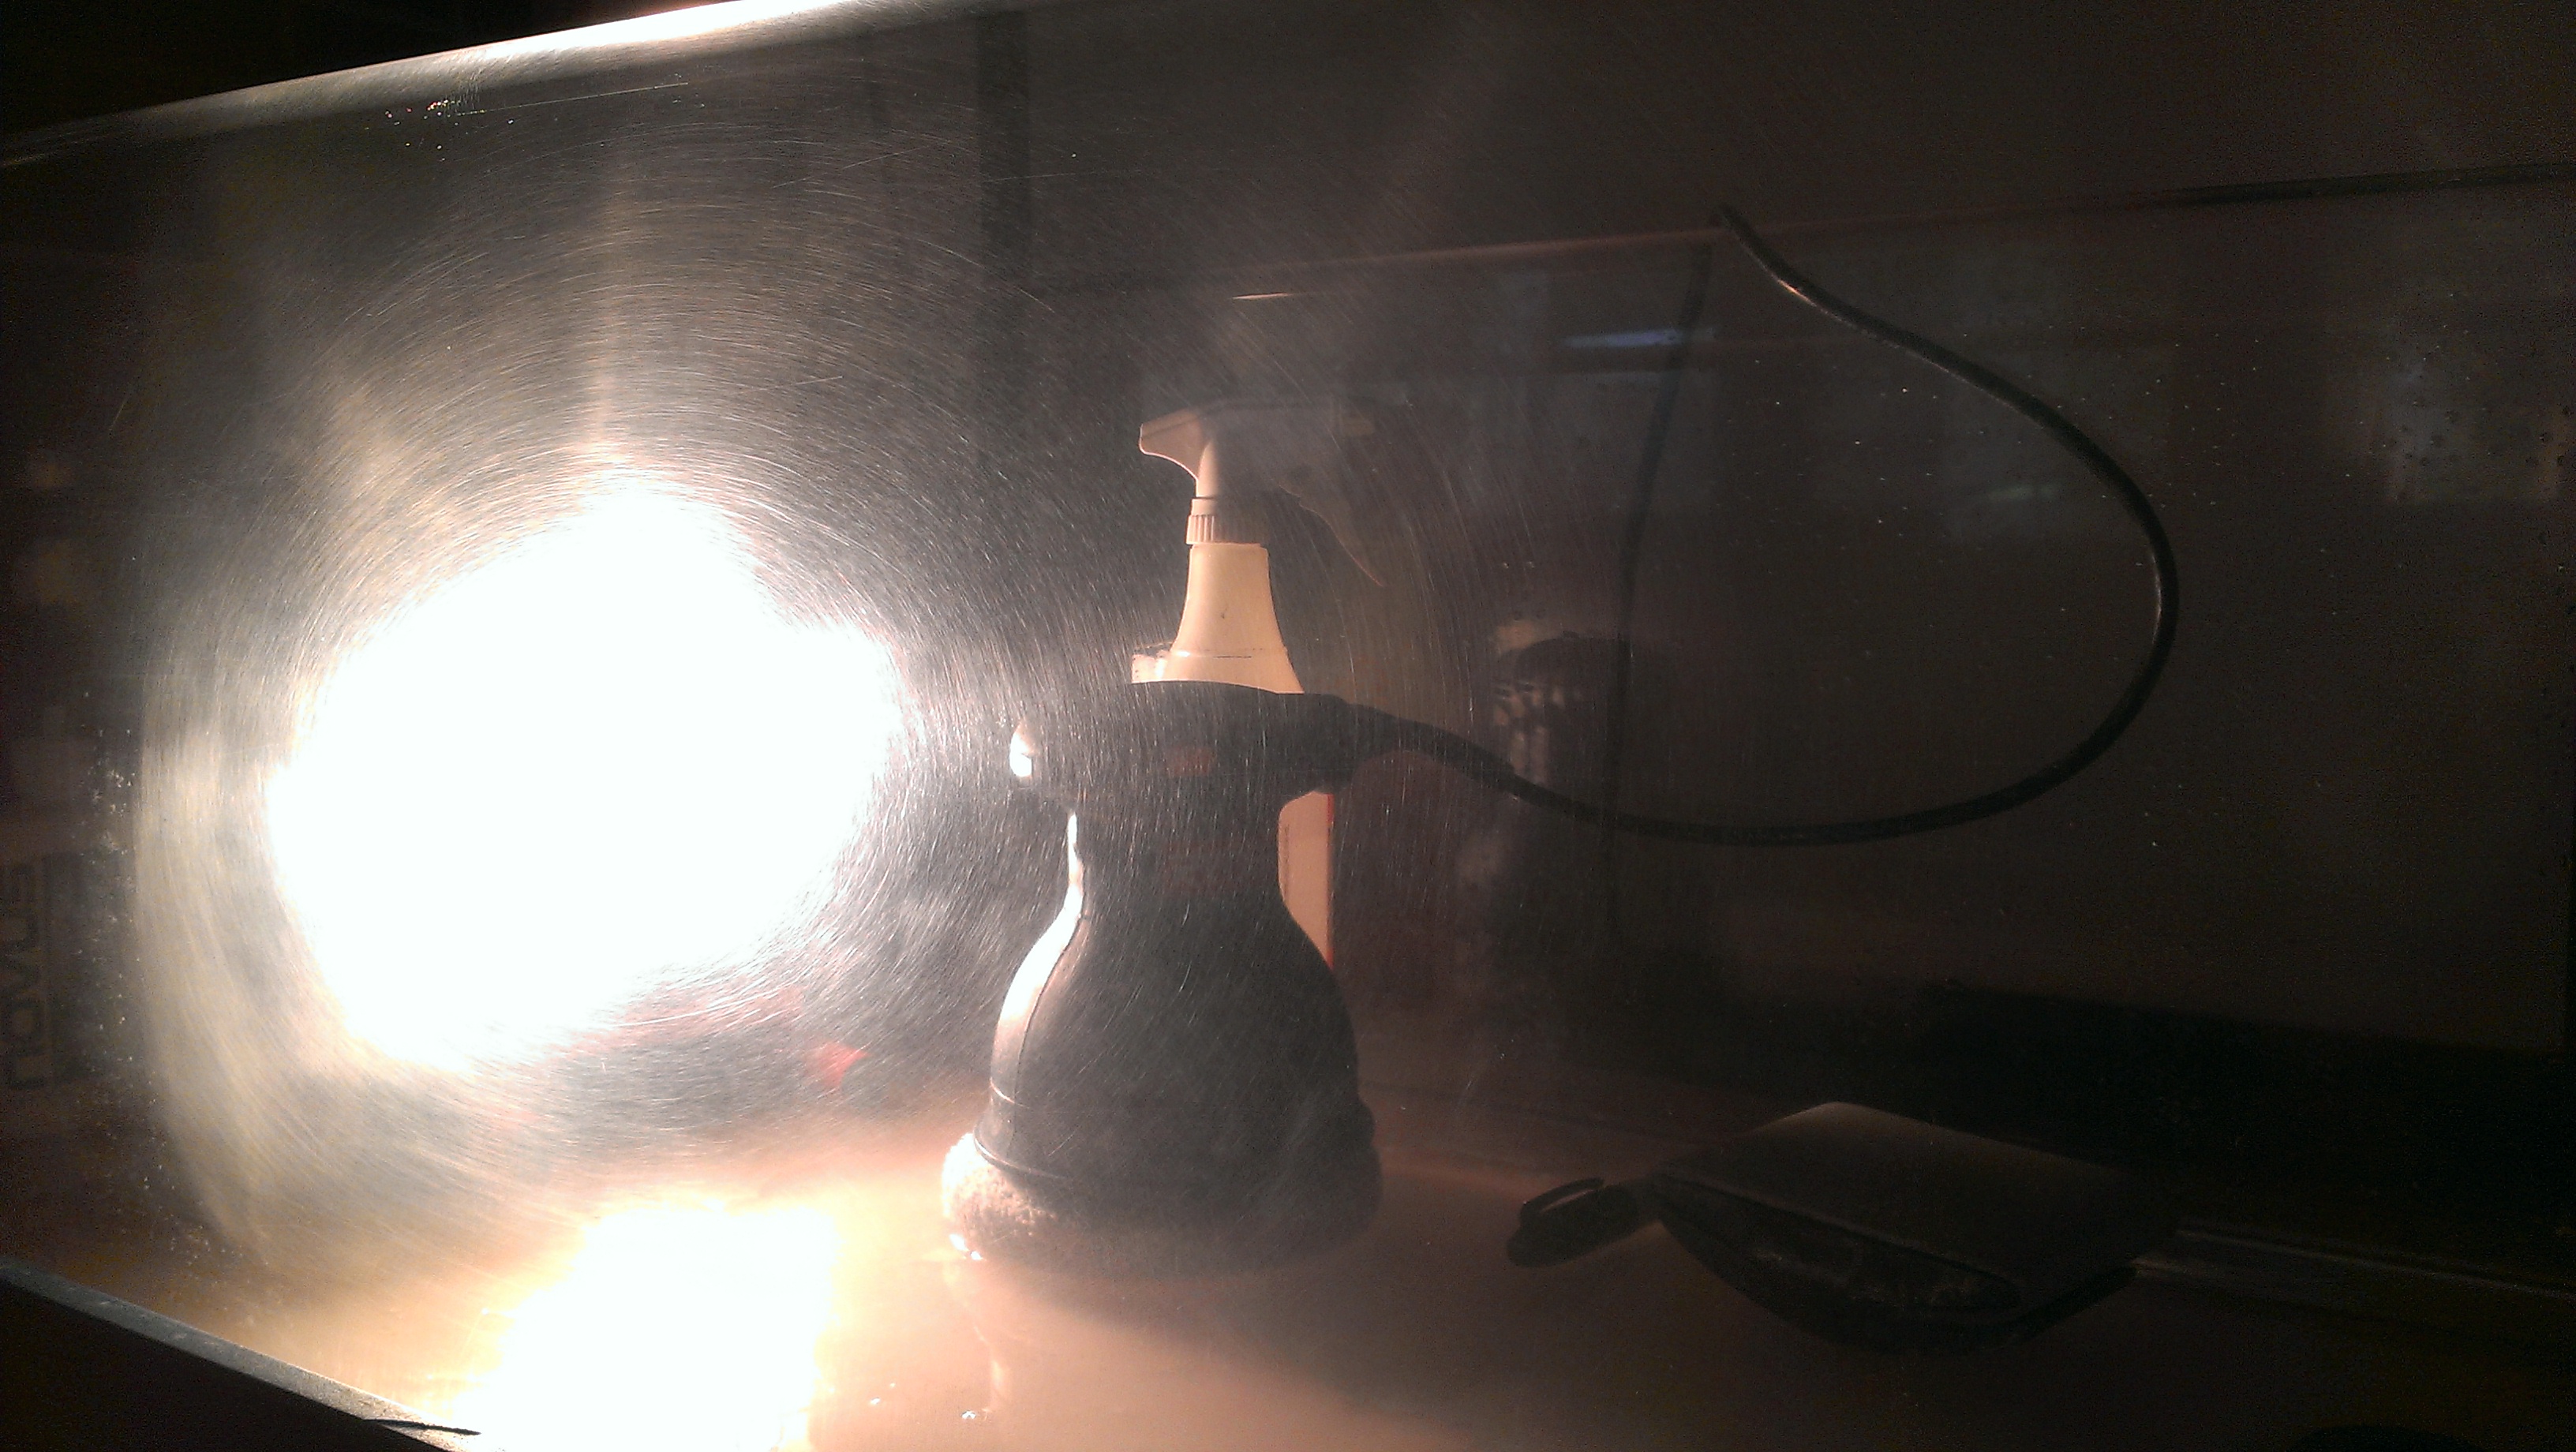
Let the sandpaper do the work and don’t push too hard or you could put deep marks in the acrylic that won’t come out. The next picture shows what the acrylic will look like after wet sanding: the left side shows some of the scratches and coralline marks, and the right side shows the wet sanding which removed the marks.
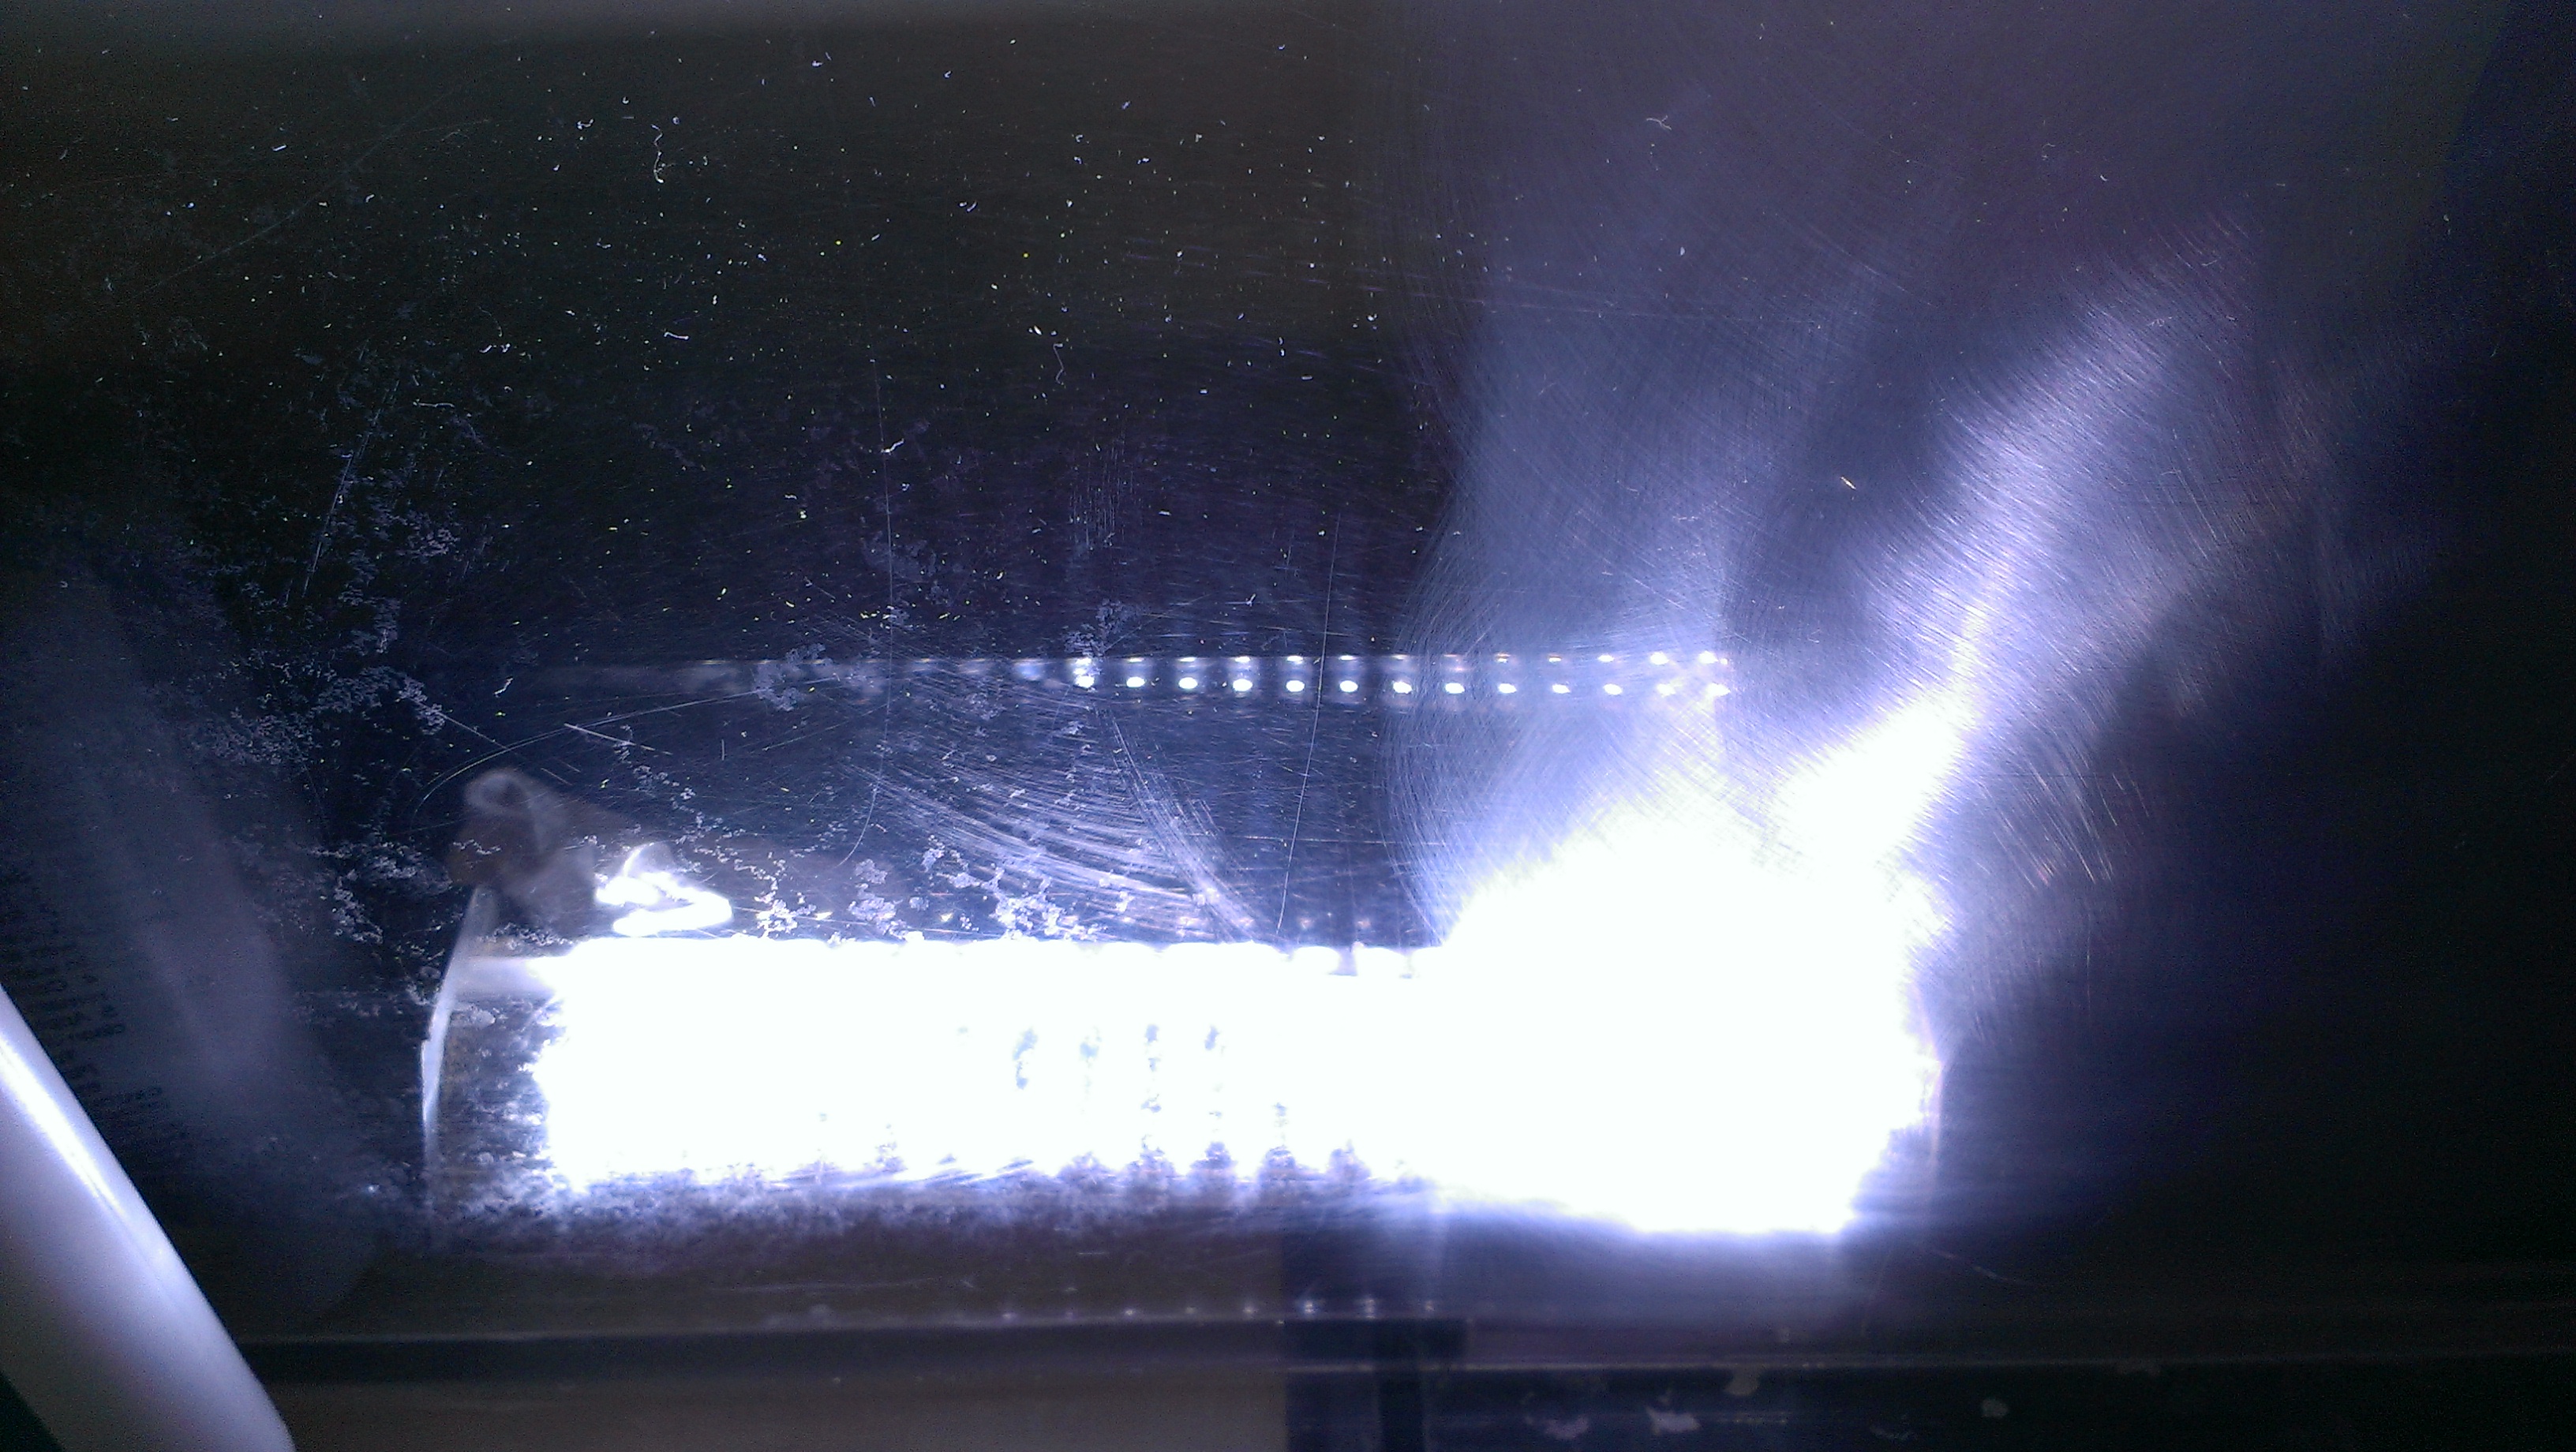
Your tank will look terrible when you’re done sanding. Don’t worry. You will fix it in a little bit. Use a bright light to inspect the acrylic and make sure you have removed all of the scratches. A sharpie helps to see the scratches, If you mark the scratch it will show up better when wet sanding. Some marks aren’t going to come out if they are too deep. If they don’t come out with 3000 grit you could try 2000 but I wouldn’t go any lower than that, it would be too easy to ruin the acrylic.
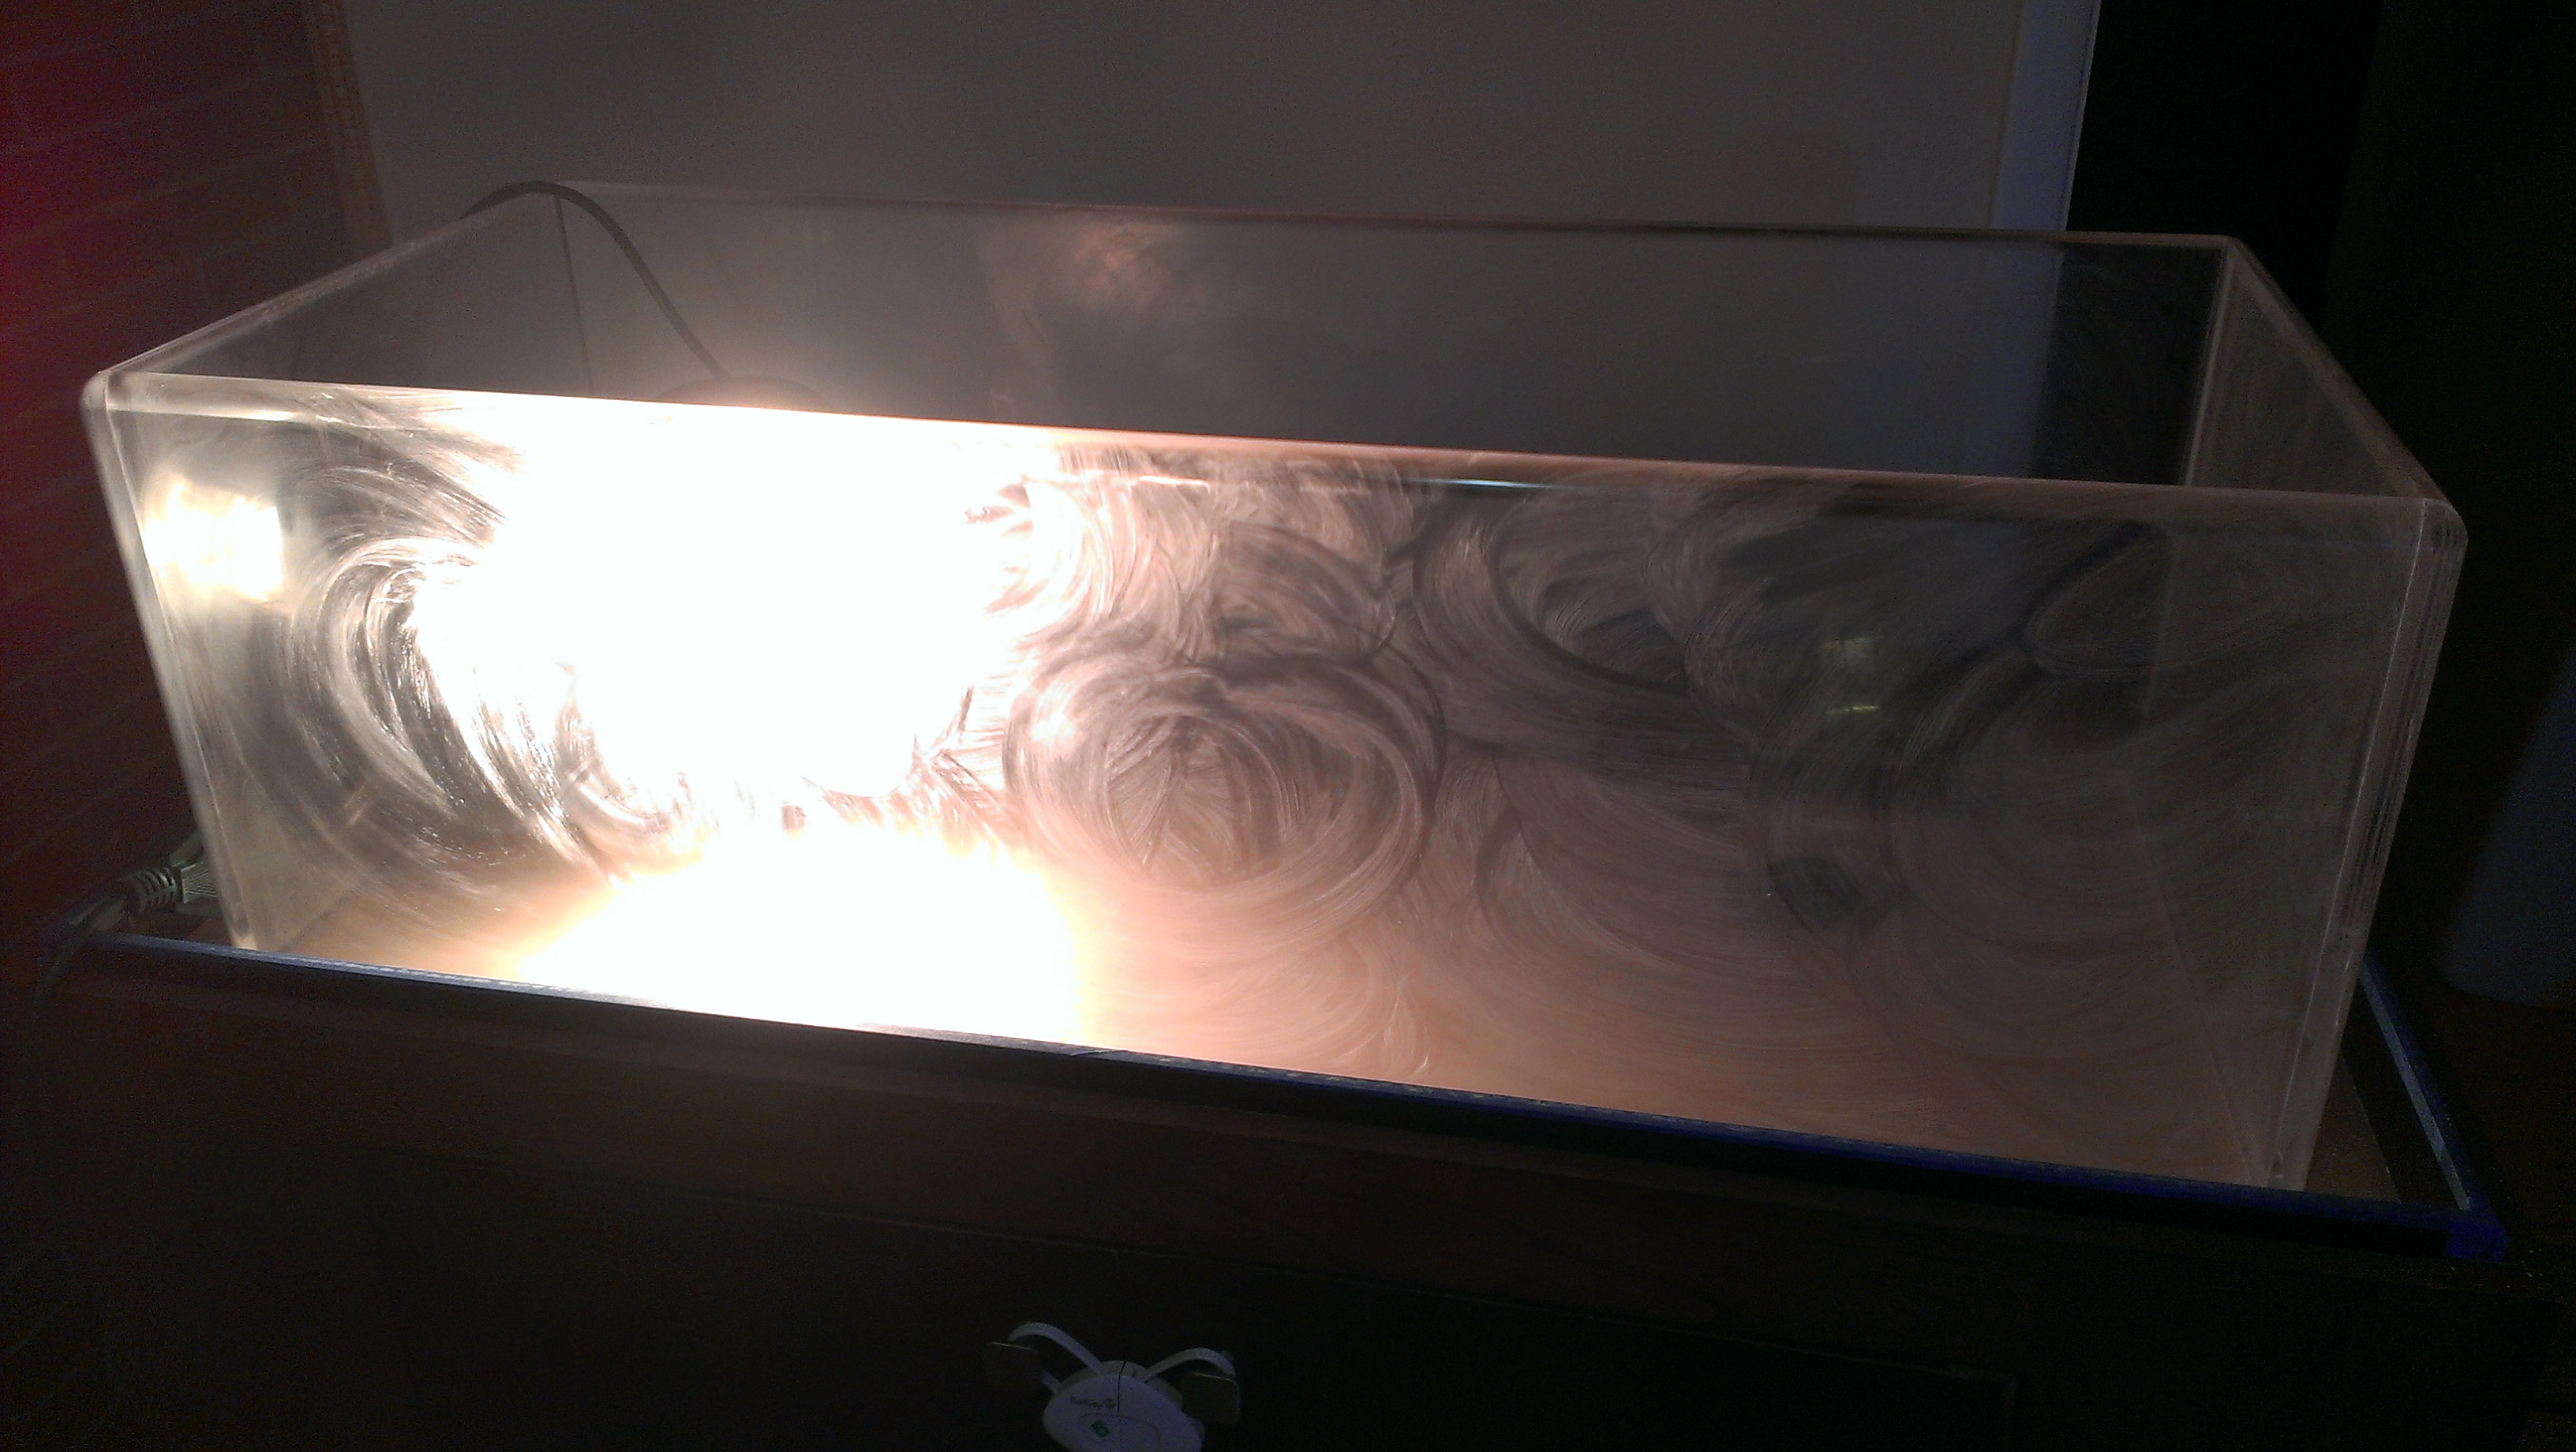
After wet sanding has removed all of the scratches, use a buffer and apply Novus #3. I used the spray bottle to keep the buffer wet, as the polish dries out quickly.
When you are finished buffing, use a wet rag to remove the film. Your tank should now have lots of tiny scratches like this.
Once all of the wet sanding marks are removed with Novus #3, switch to Novus #2. While buffing use the spray bottle to keep the polish damp, it dries really fast too.
Once polishing with Novus #2 is complete, use a damp rag to remove the film. At this point your tank should look amazing. If it doesn’t, go back and wet sand or polish with Novus #2 until you get all of the marks out.
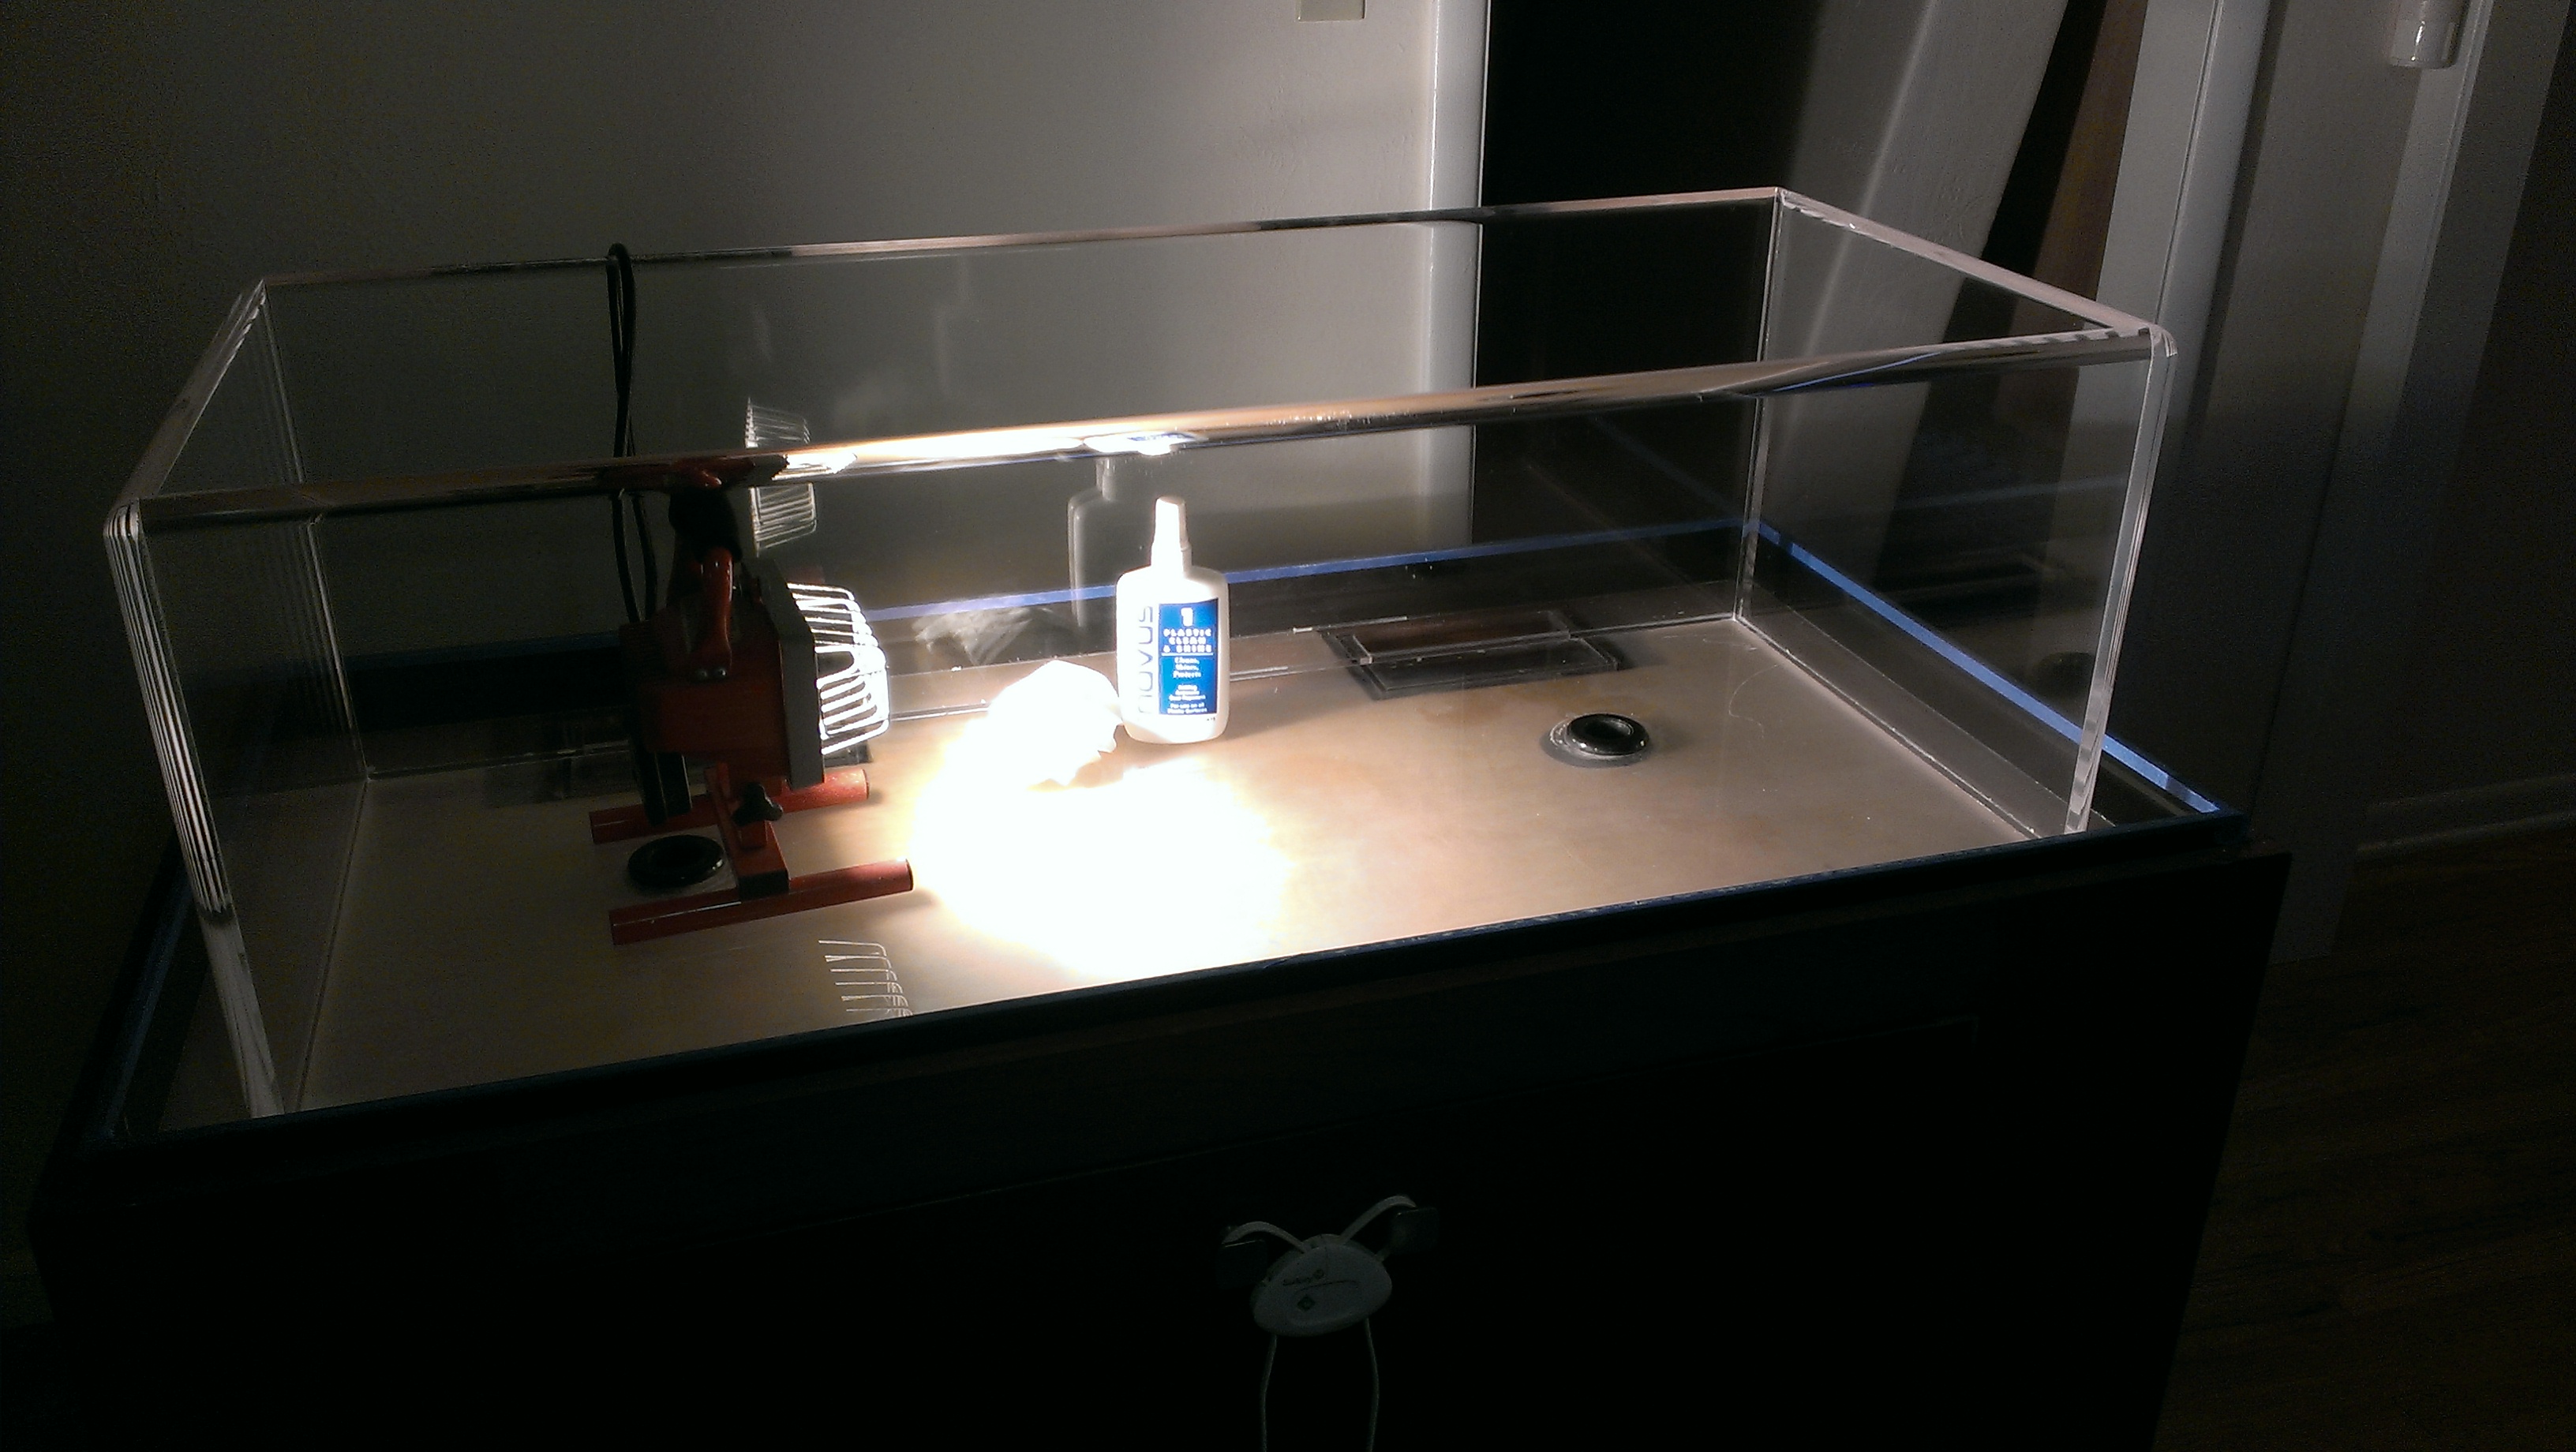
Finally apply Novus #1 which will help keep off dust and fingerprints. Novus #2 leaves a static charge, so everything will stick to it until you use Novus #1.
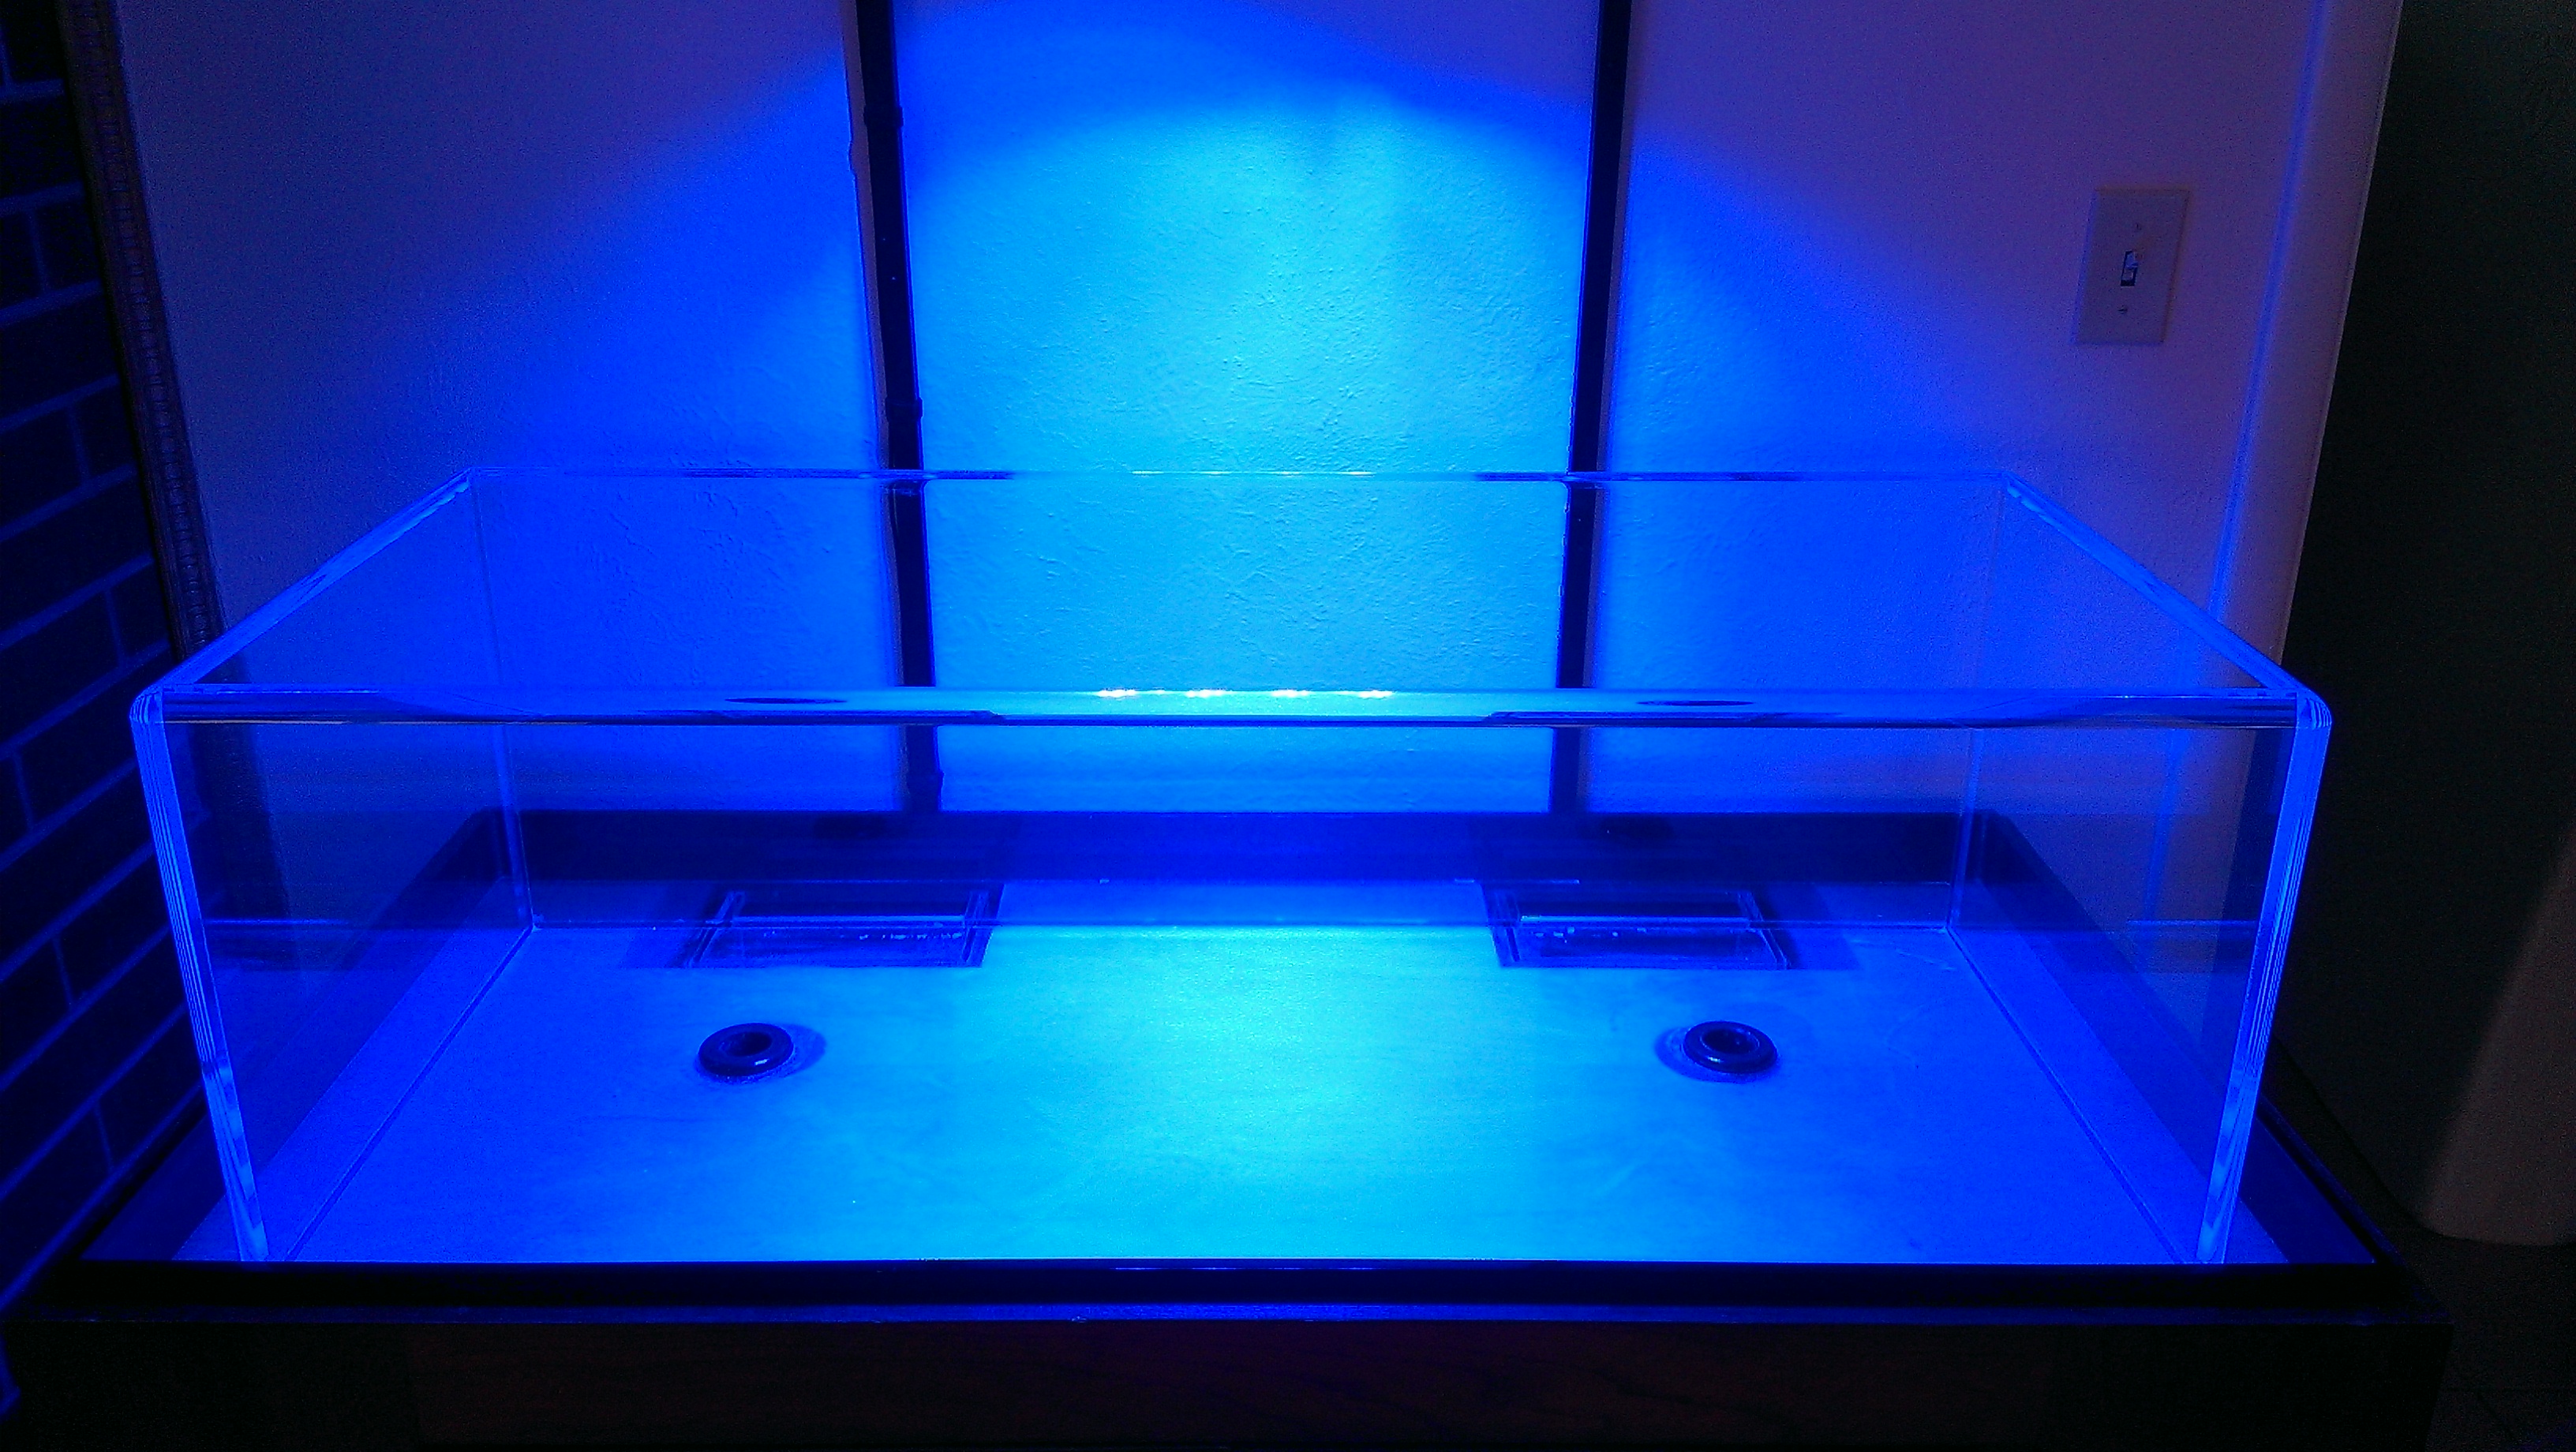
The only problem I had with this process was with the orbital buffer. If you get really close to the acrylic and look at a reflection, the surface has just a little bit of a textured appearance. I’m pretty sure this is due to the buffer. For my ZeroEdge it won’t show up since both sides will be wet, but for a regular tank you might notice. I think this could have been prevented by the use of a circular buffer instead of an orbital buffer. Good luck!
Leave a Reply
Other Stuff
Recent Posts
- 6CY7 dual triode valve amplifier
- Air quality sensor (TVOC and eqCO2)
- Automotive rear fill “surround sound” with Boss DD-3
- Spring tester / weight scale
- Ducati 749/999 Tail Light
- Instruments for the GSXR
- Light pipe tail light for the GSXR
- M17x 6990m / 6970m overheating
- PAR / Spectrum analyzer
- Acrylic polishing and scratch removal
Archives
- May 2019 (2)
- April 2017 (3)
- October 2015 (1)
- May 2015 (1)
- March 2014 (2)
- December 2013 (1)
- July 2013 (1)
- November 2012 (1)
- October 2012 (4)
- September 2012 (1)
- August 2012 (3)
- June 2012 (1)
- March 2012 (1)
- February 2012 (1)
- January 2012 (1)
- October 2011 (3)
- July 2011 (1)
- June 2011 (3)
- May 2011 (2)
- April 2011 (1)
- December 2010 (1)
- August 2010 (1)
- July 2010 (3)
- April 2010 (2)
- March 2010 (2)
- January 2010 (2)
- December 2009 (2)
- October 2009 (2)
- September 2009 (1)
- August 2009 (15)